User Manual
1. Introduction
1.1 Purpose& Description
DSGW-210-HA is Home Assistant gateway with multiple protocol. It provides reliable connectivity for a wide range of wireless IoT devices. Home Assistant integrates with over a thousand different devices and services. Once started, Home Assistant will automatically scan your network for known devices and allow you to easily set them up. Wireless protocol including Cellular, Bluetooth, Wi-Fi, Ethernet, USB, ZigBee, Z-wave and Li battery backup.
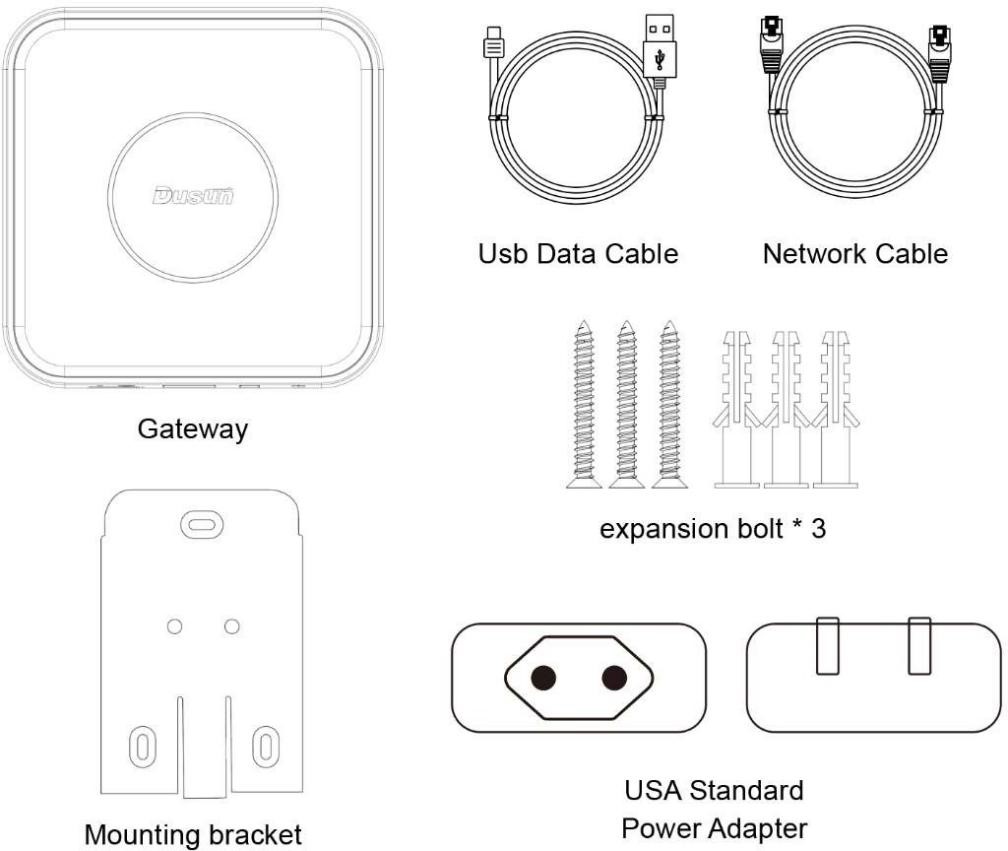
1.2 Product List
| Product list | Number |
|---|---|
| Smart Gateway | 1 |
| Network Cable | 1 |
| USB Power Cable | 1 |
| Power adapter(EU or US) | 1 |
| Mounting bracket | 1 |
| Expansion screw | 3 |
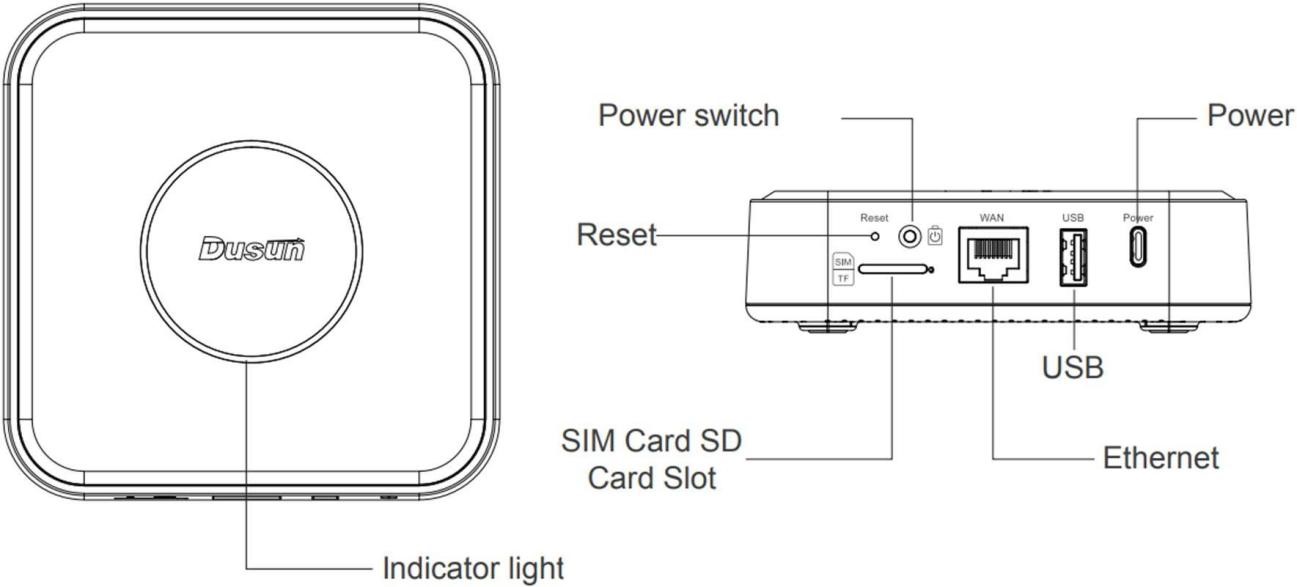
1.3 Appearance Description
| Feature | Description |
|---|---|
| Power | USB type-C power supply |
| USB | USB peripheral interface |
| Indicator | RGB LED, Indicate the working status of the gateway |
| Ethernet port | This port connects to the LAN port of router |
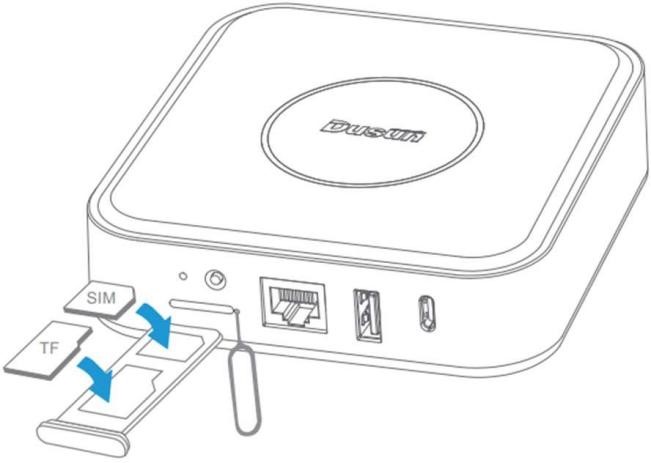
| SIM/TF card slot | Insert the SIM card and TF card |
| Reset hole | Restart |
| Power switch | Power on the backup Li battery |
2. How To Use
2.1 Preparation before start
Open the package, find the USB data cable, USB power Adapter, network cable.According to the content of the document, ensure that the equipment is working properly.
2.2 Indicator Light Description
| Light | Description |
|---|---|
| Red light | Start-up is completed after the device is powered on |
| Blue light | Connecting to the network successfully |
| Green Light | 4G LTE dialing |
| Blue light turn circle | Connecting to the network |
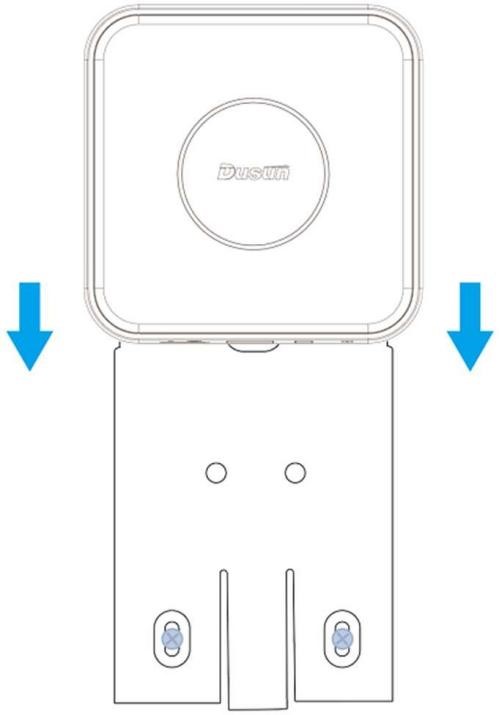
2.3 Installation Method
you can install the brackets with Expansion screw into wall or roof, then insert the gateway.
2.4 Home Assistant Supervisor& Core version
User can update the Home assistant supervisor and core version manually on their own.
The default version for gateway 2.0.19 version is listed as below,
Core-2023.10.0
Supervisor-2023.10.1

3. Operate Home Assistant
Please note, the following are screenshot guides of actual operations. In different versions of Home Assistant, the UI details of the operating interface may vary, but the operational logic remains the same.
3.1 Access to Gateway
Let the gateway connect to the router at home.
And find the ip of gateway from your router.
3.2 visit dashboard of home assistant
You can visit the following URL in a web browser.
http:// Gateway ip:8123
3.3 Wi-Fi AP
You can find a Wi-Fi AP with PC, the SSID: dusunha Password:12345678
Then you can visit the home assistant dashboard, follow the URL: http://192.168.10.1:8123
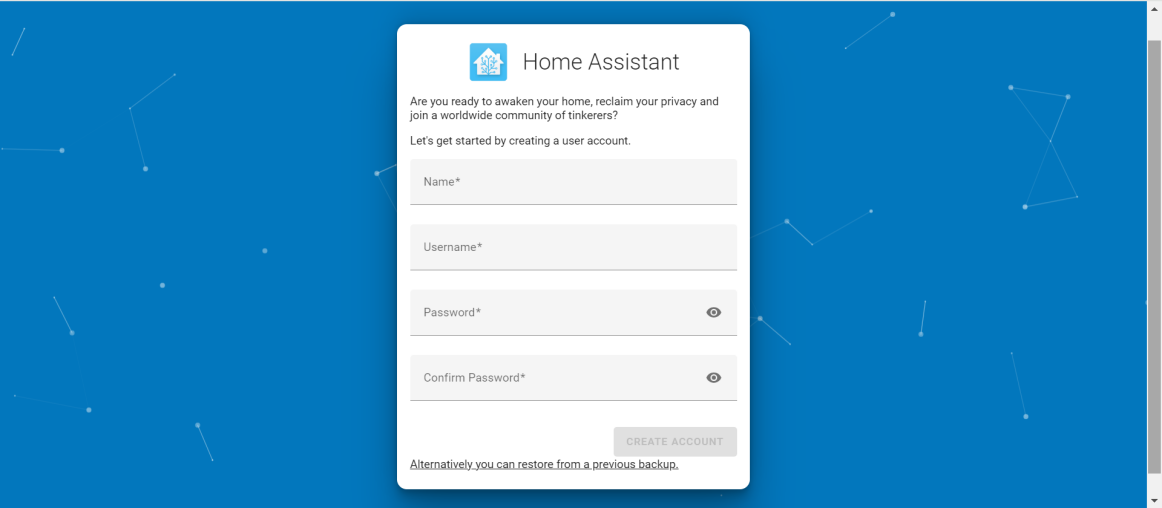
3.4 Register home assistant account
Enter the user’s details and click the "CREATE ACCOUNT" button
3.5 Configure the dashboard
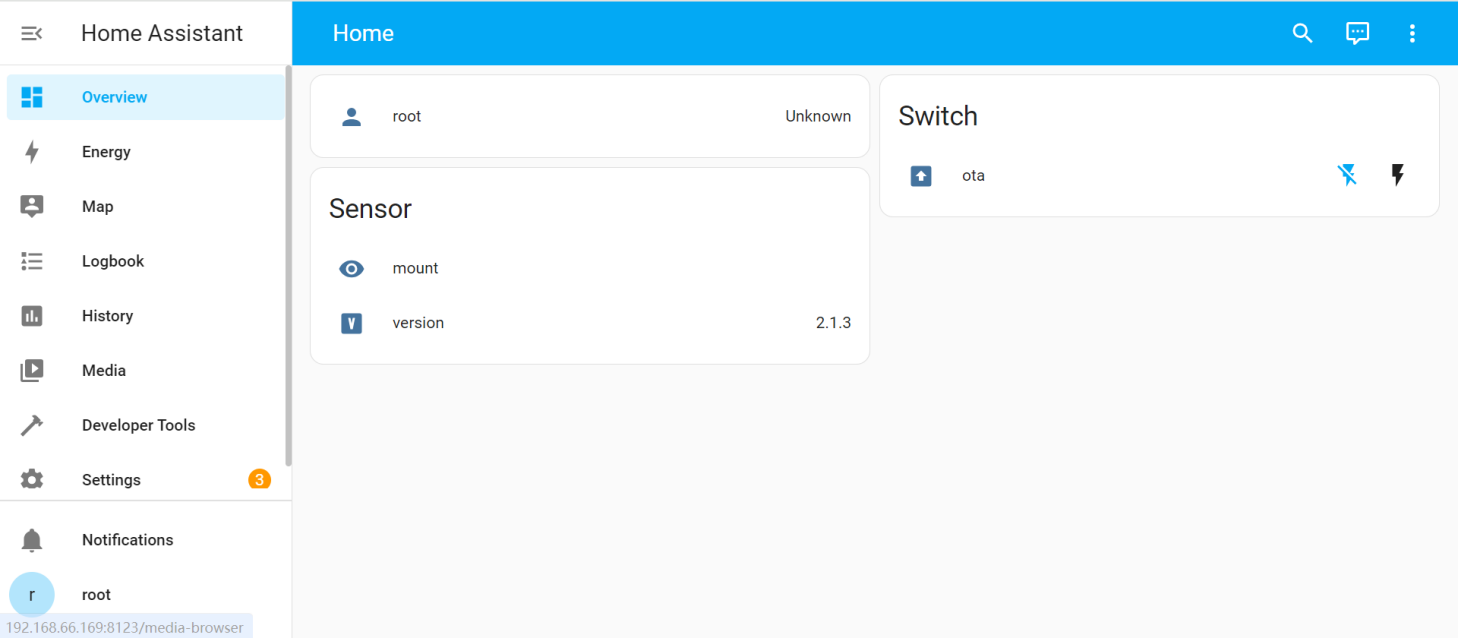
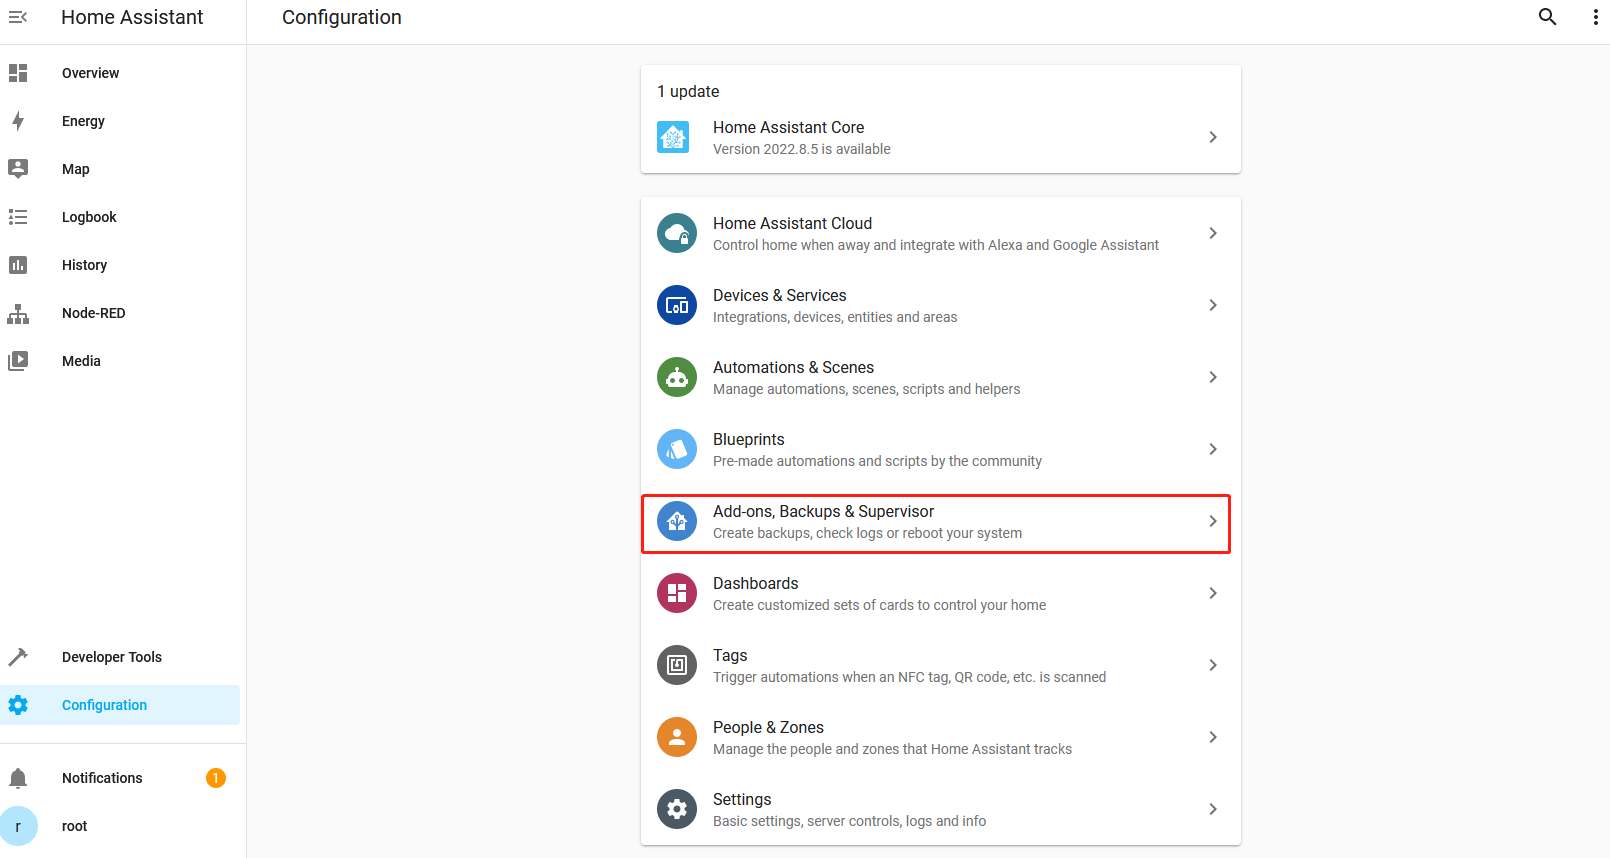
You can click the “Configuration” to add other integrations.
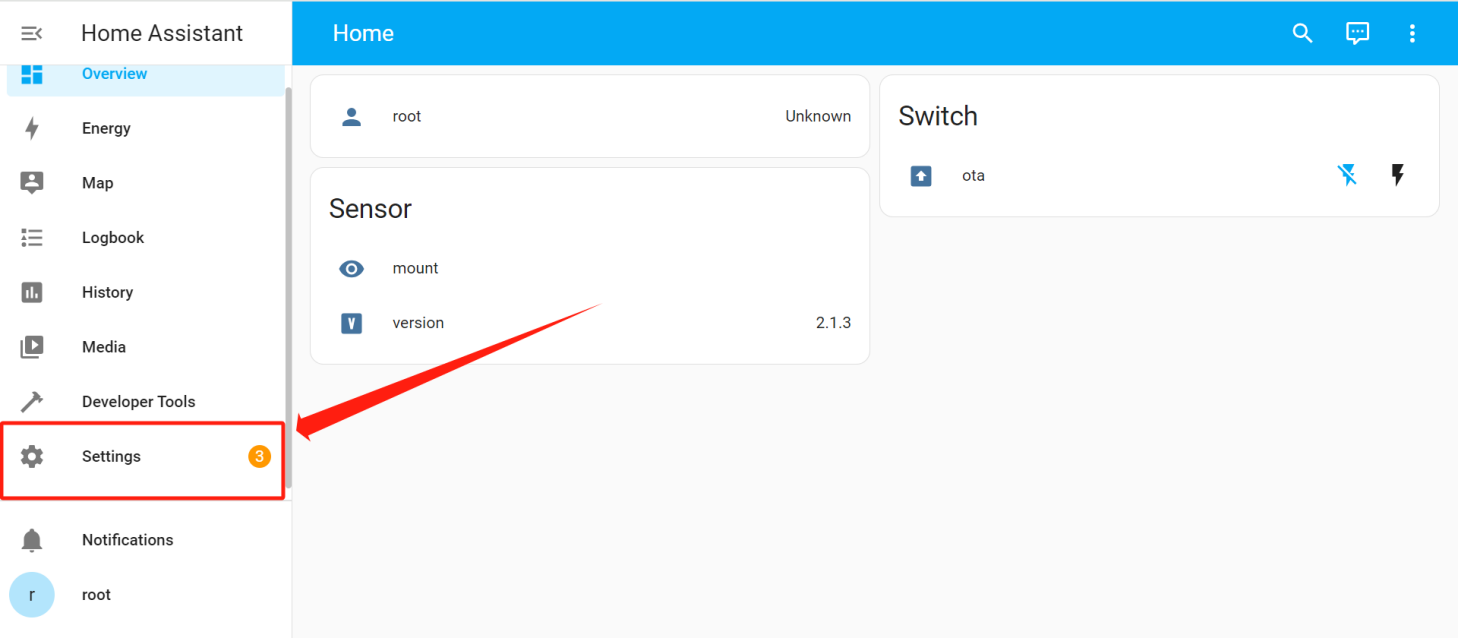
If you don’t see a specific device or integration, you can click the “+Add integration”in the lower right corner of the screen to add it yourself. This will bring up a search menu that allows you to find different integrations through the home assistant software.
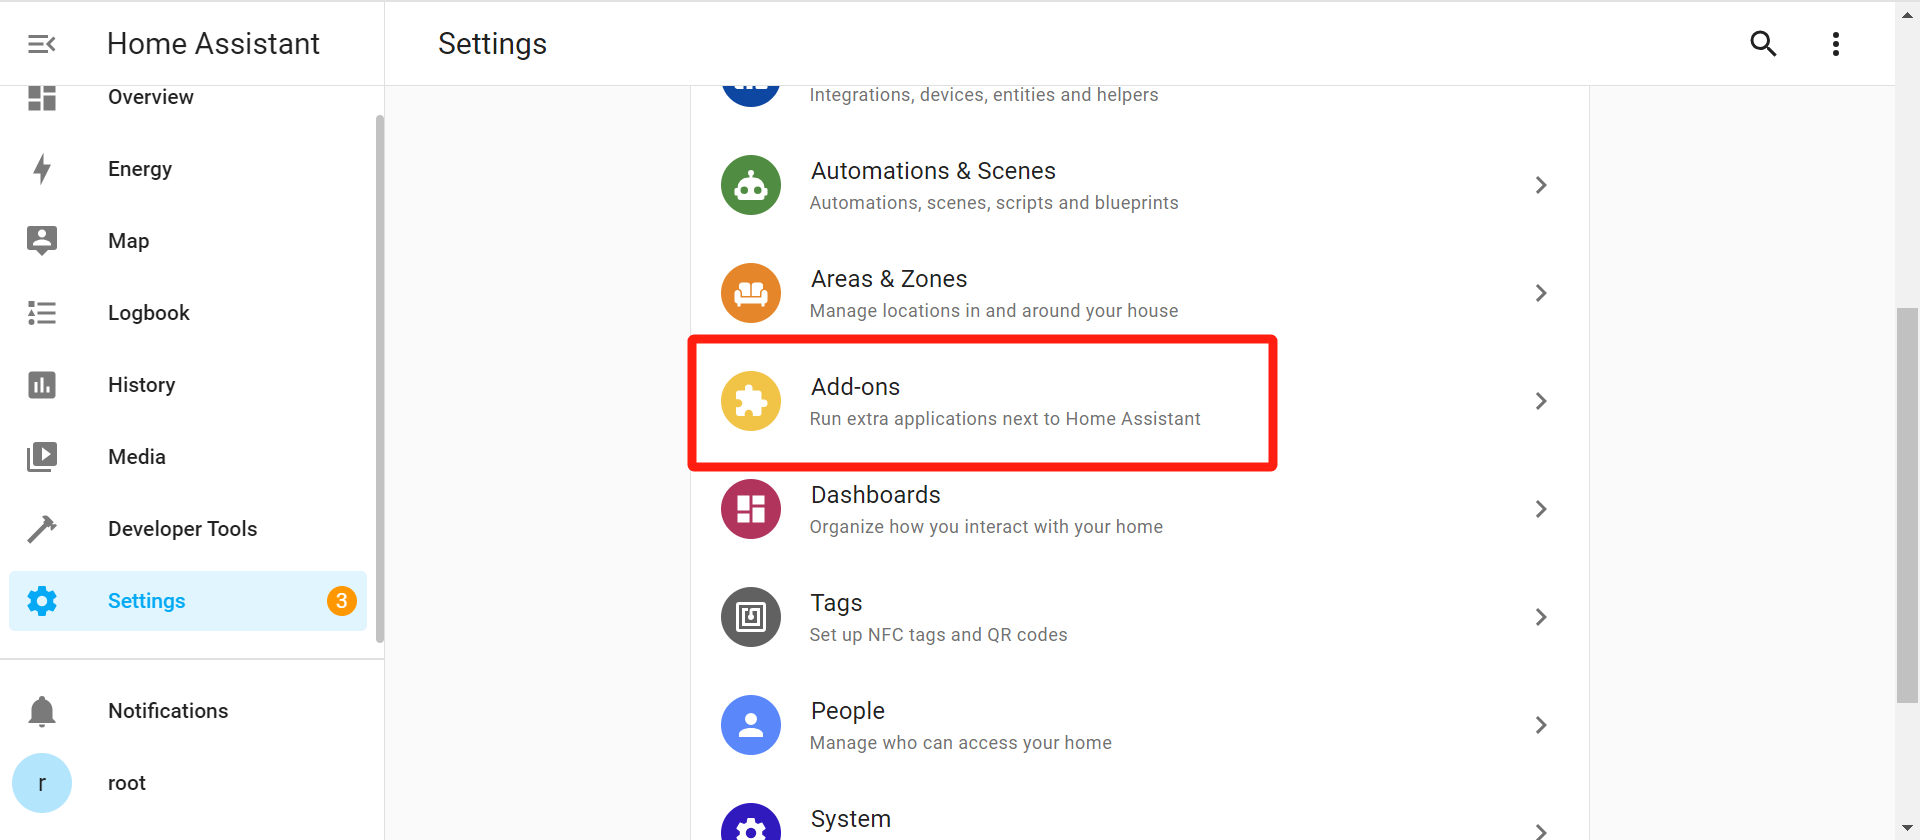
3.6 Add-on store
Click "supervisor" to select the desired integration, if not, you can search.

3.7 Add ZHA for zigbee management
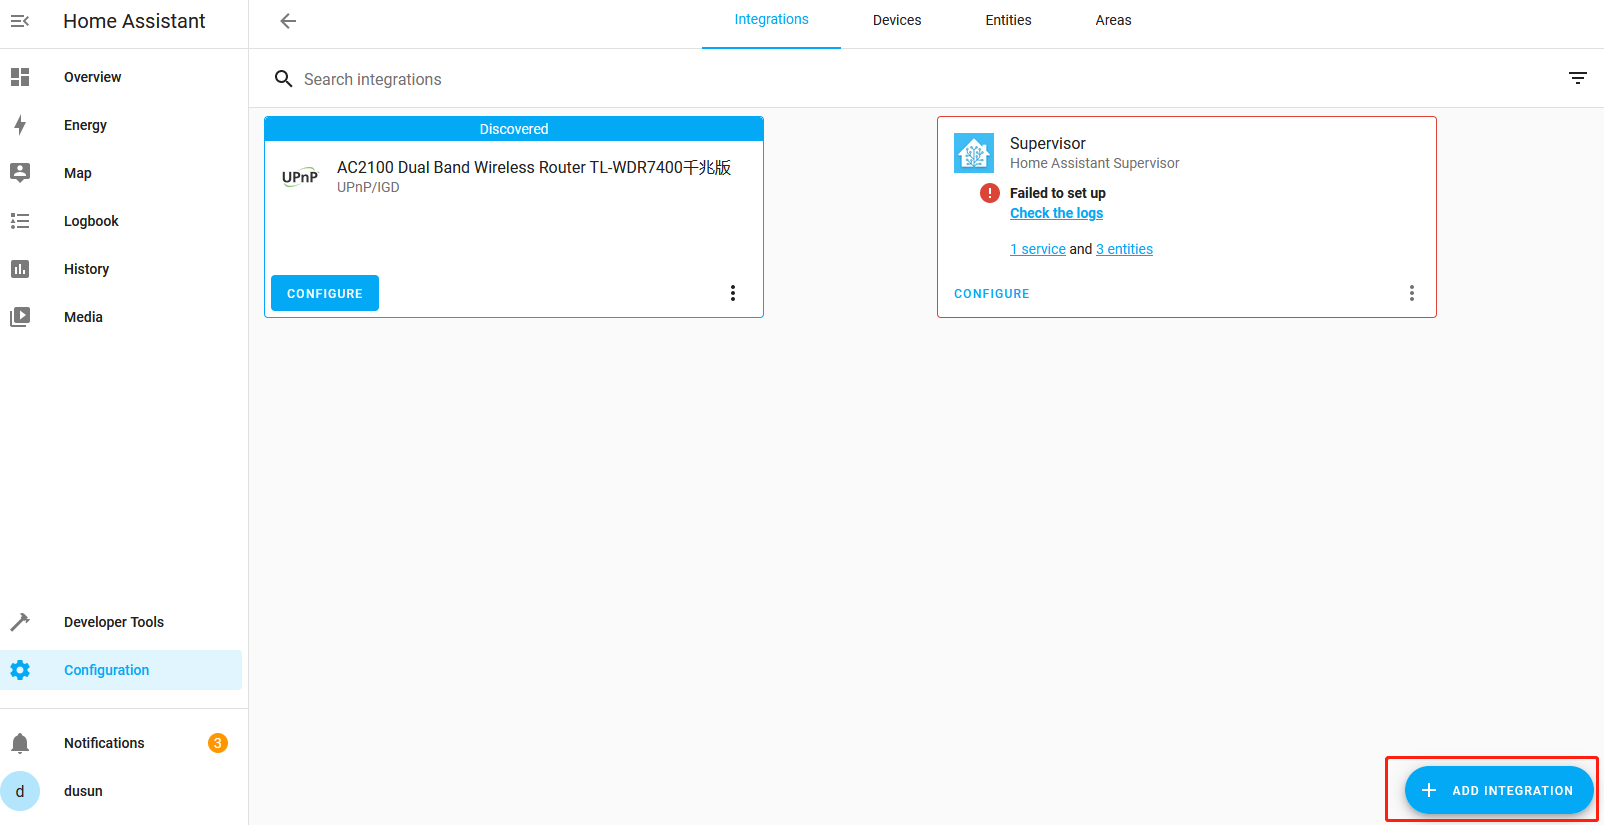
a) Click +ADD INTEGRATION
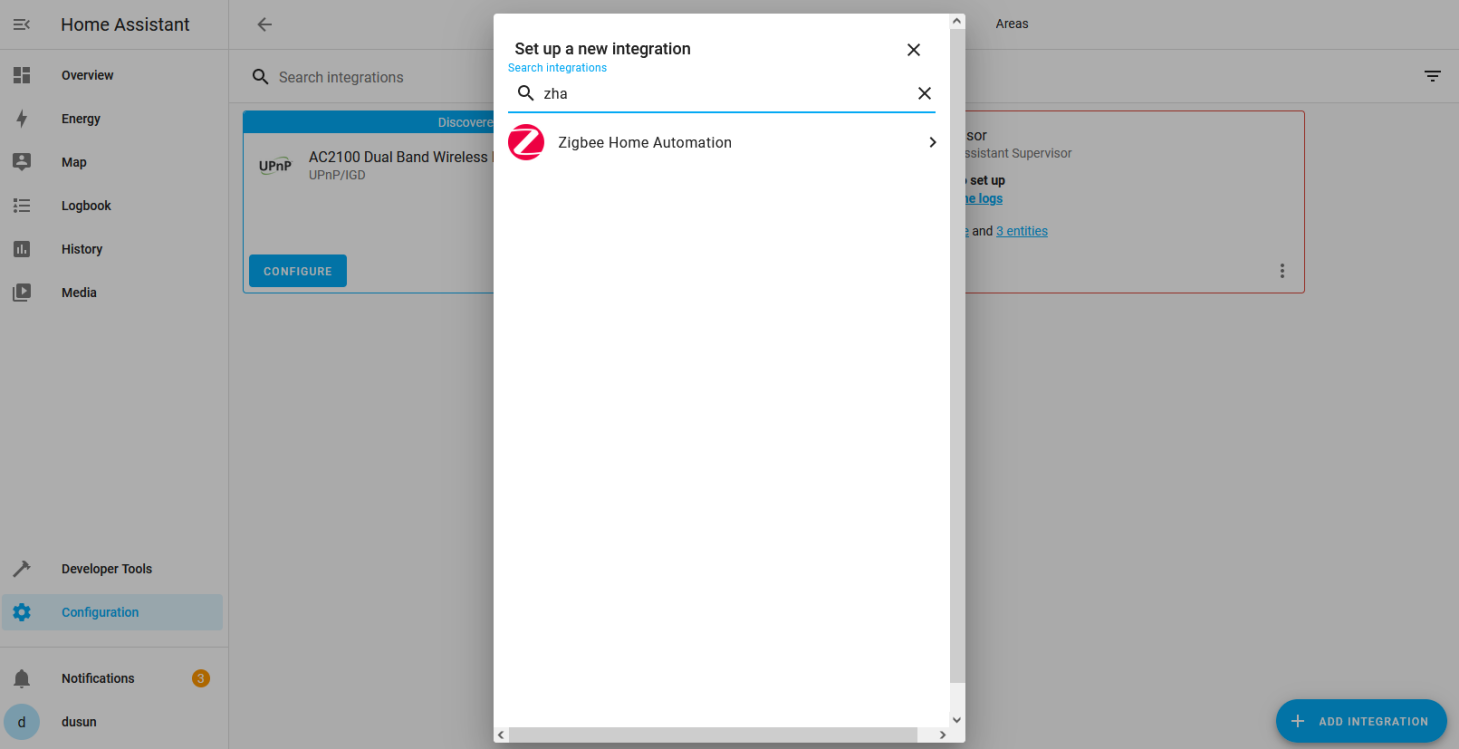
b) Type in zha in search box, choose the Zigbee Home Automation,
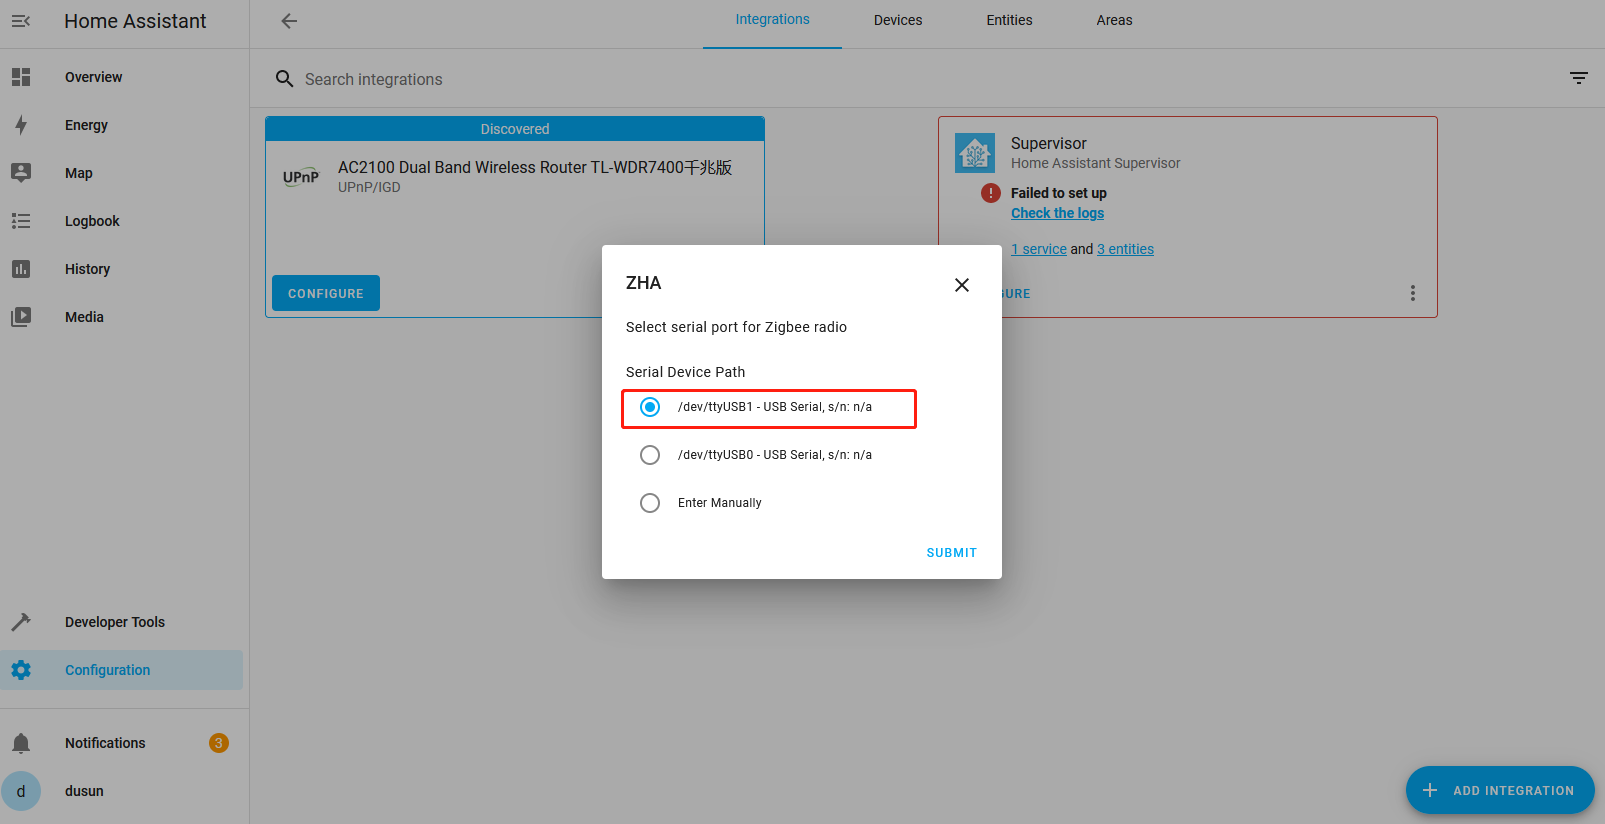
c) Select /dev/ttyUSB1 for serial port of zigbee module, click SUBMIT
d) Wait for about 2 minutes for first time of initialization, then click FINISH
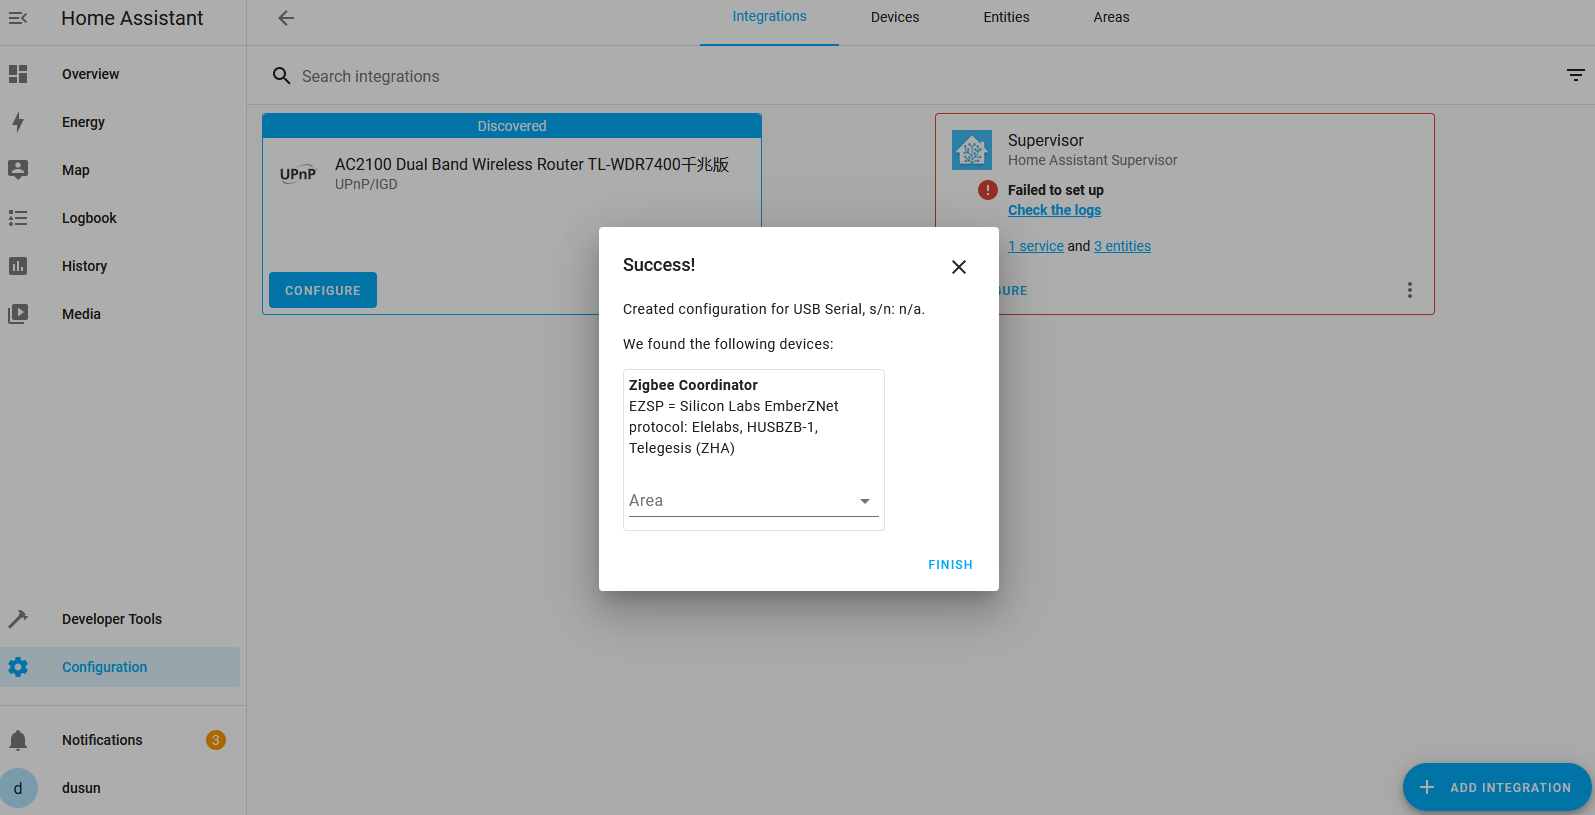
e) Then the integration is correctly added
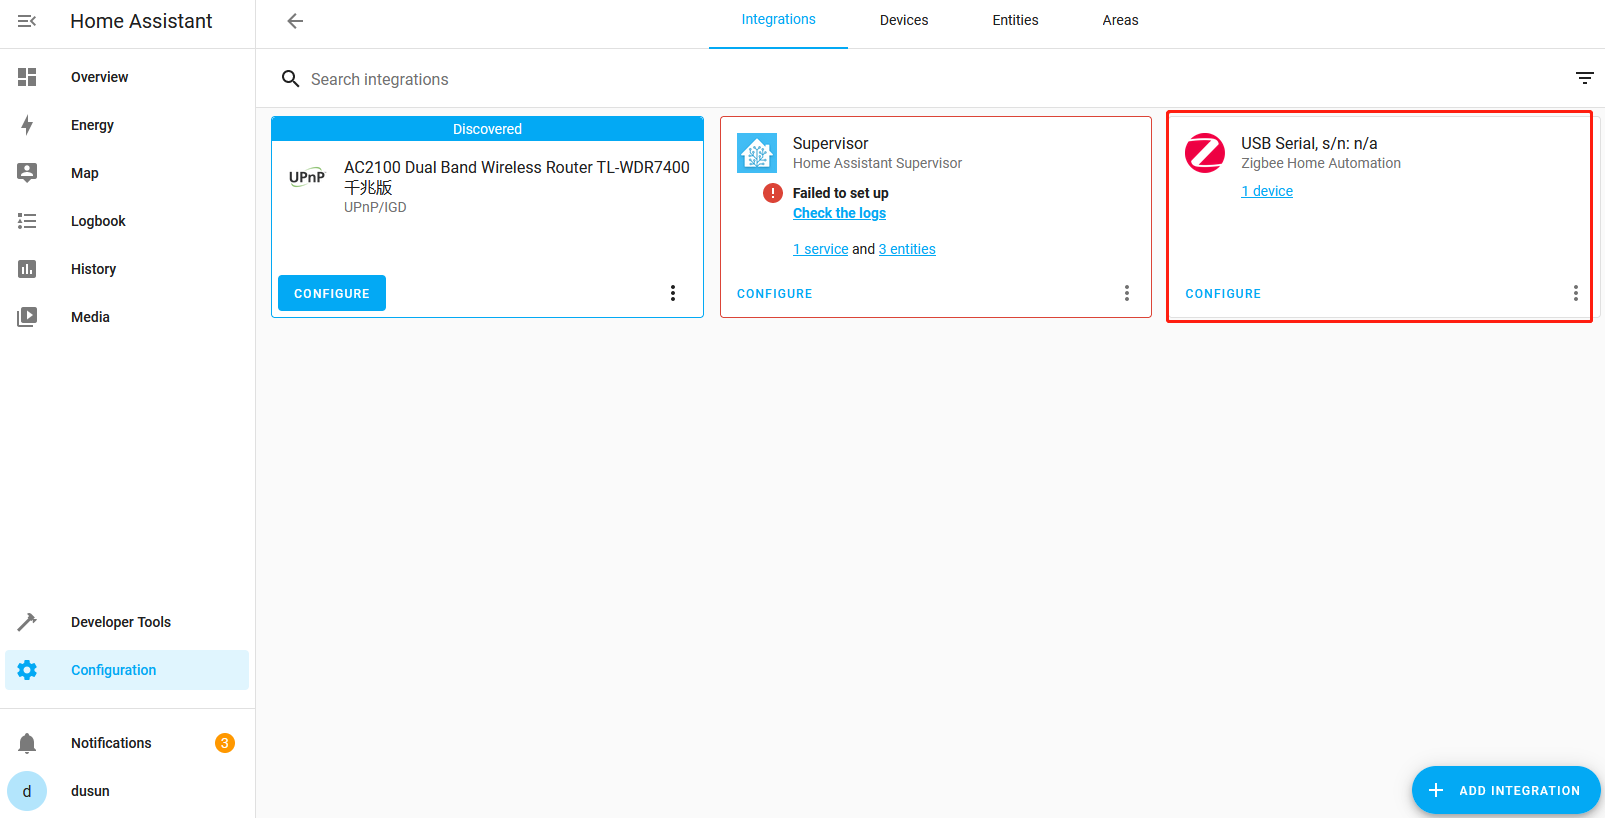
f) Click on the zigbee controller we just added
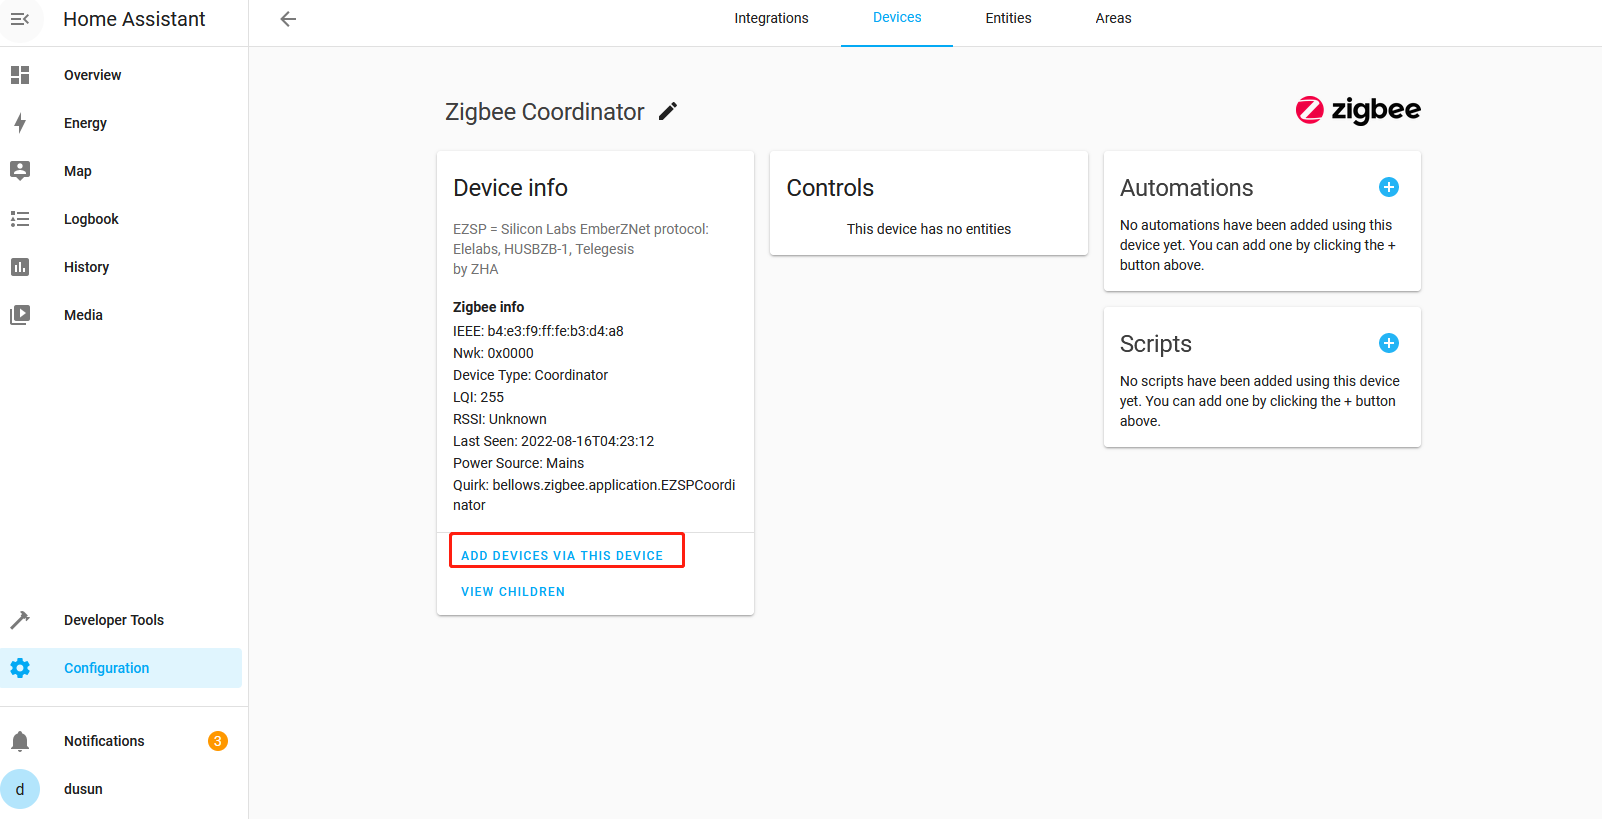
g) This is the overview of zigbee coordinator, you can add zigbee device to it with the option ADD DEVICES TO THIS DEVICE
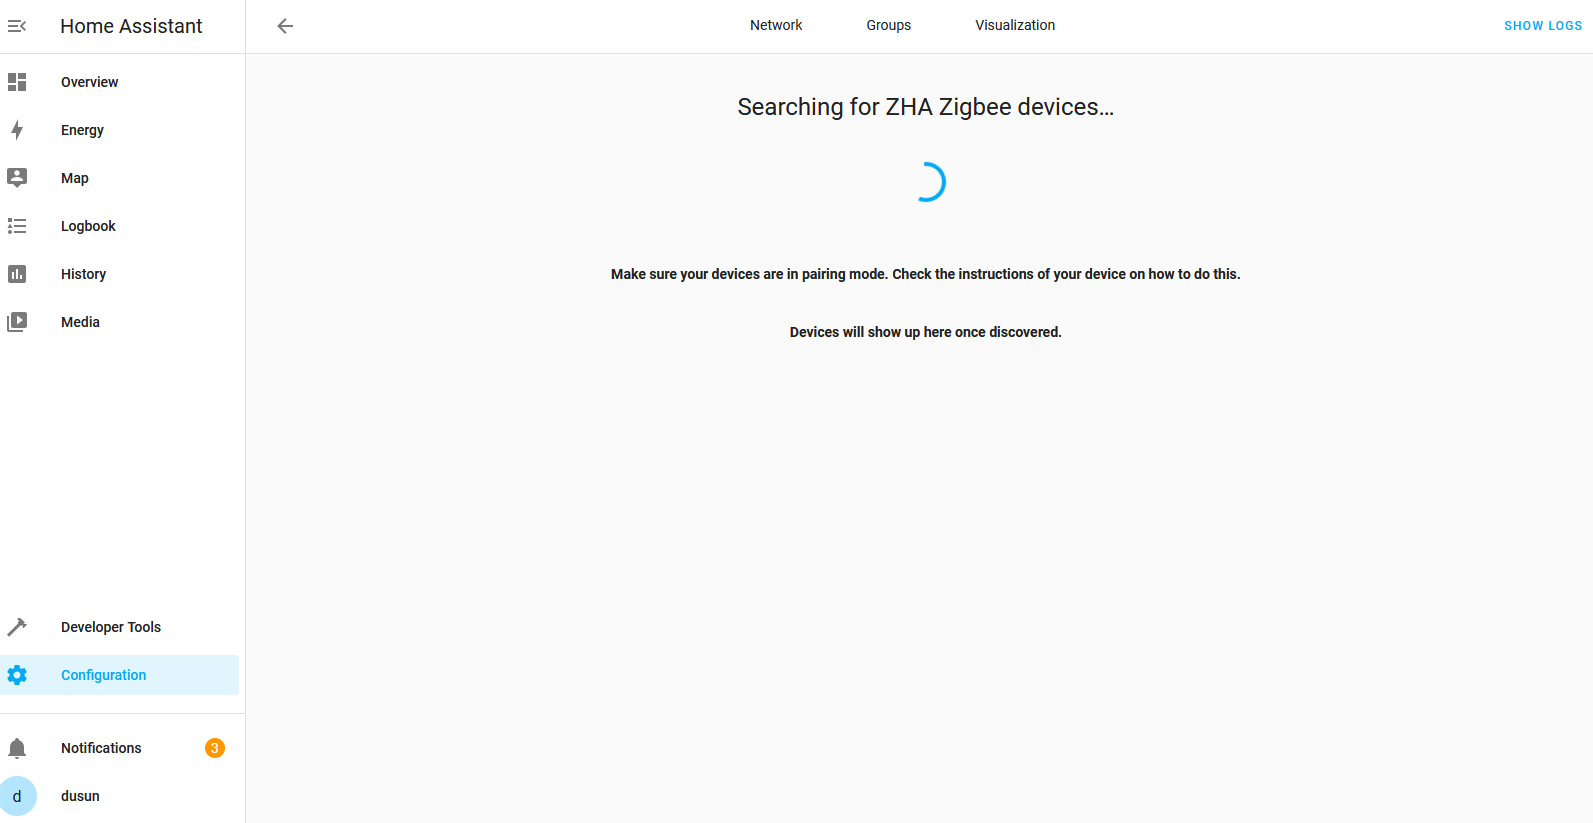
h) Then the gateway is in pairing mode, you can set your zigbee device in pairing mode as well for adding purpose
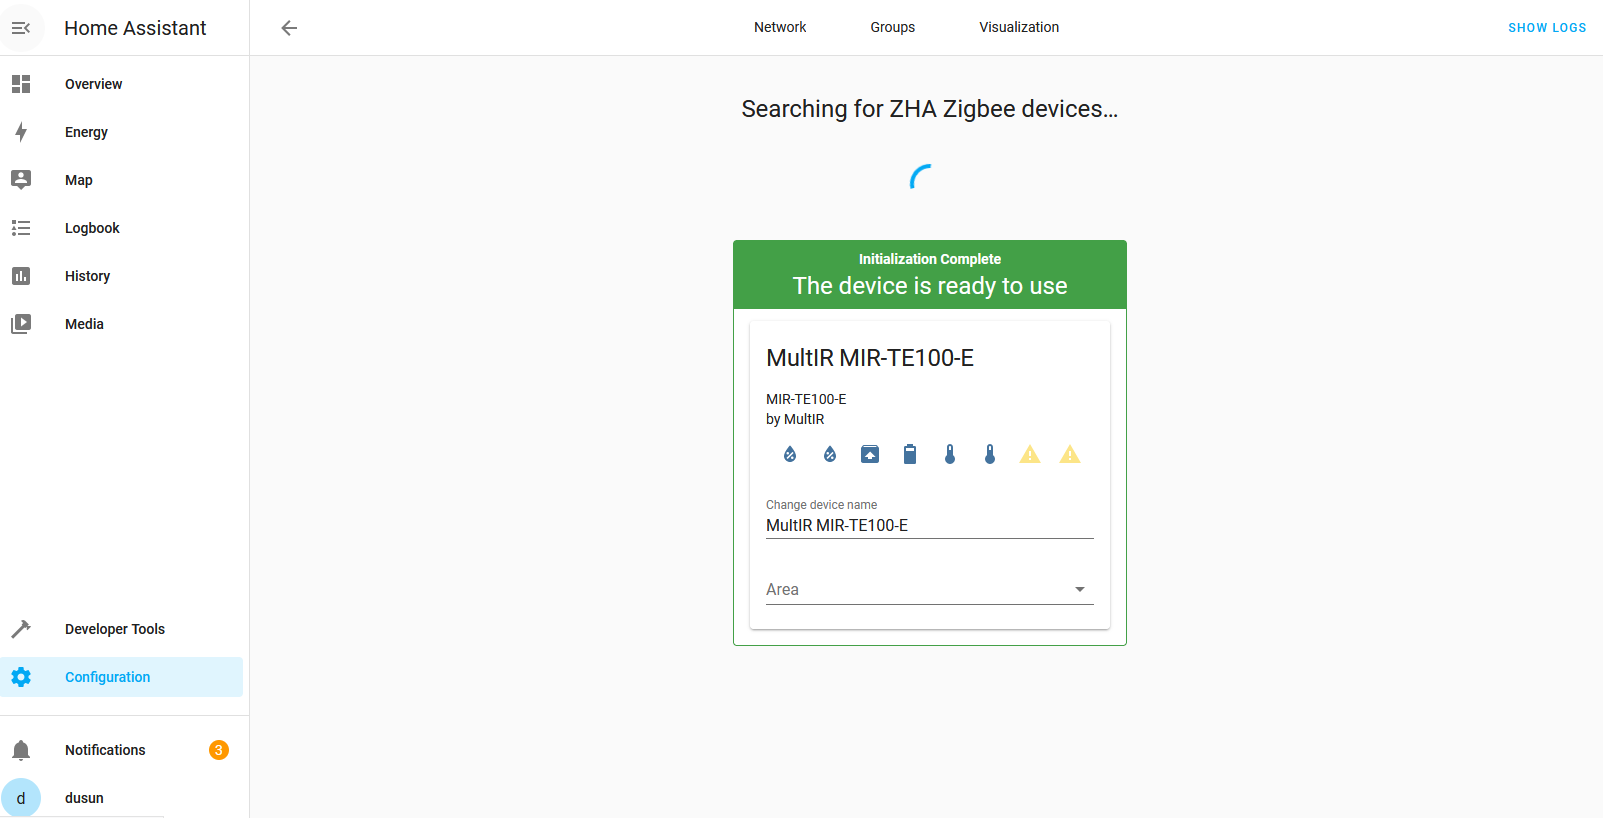
i) Use a temperature and humidity sensor for testing, the device is added
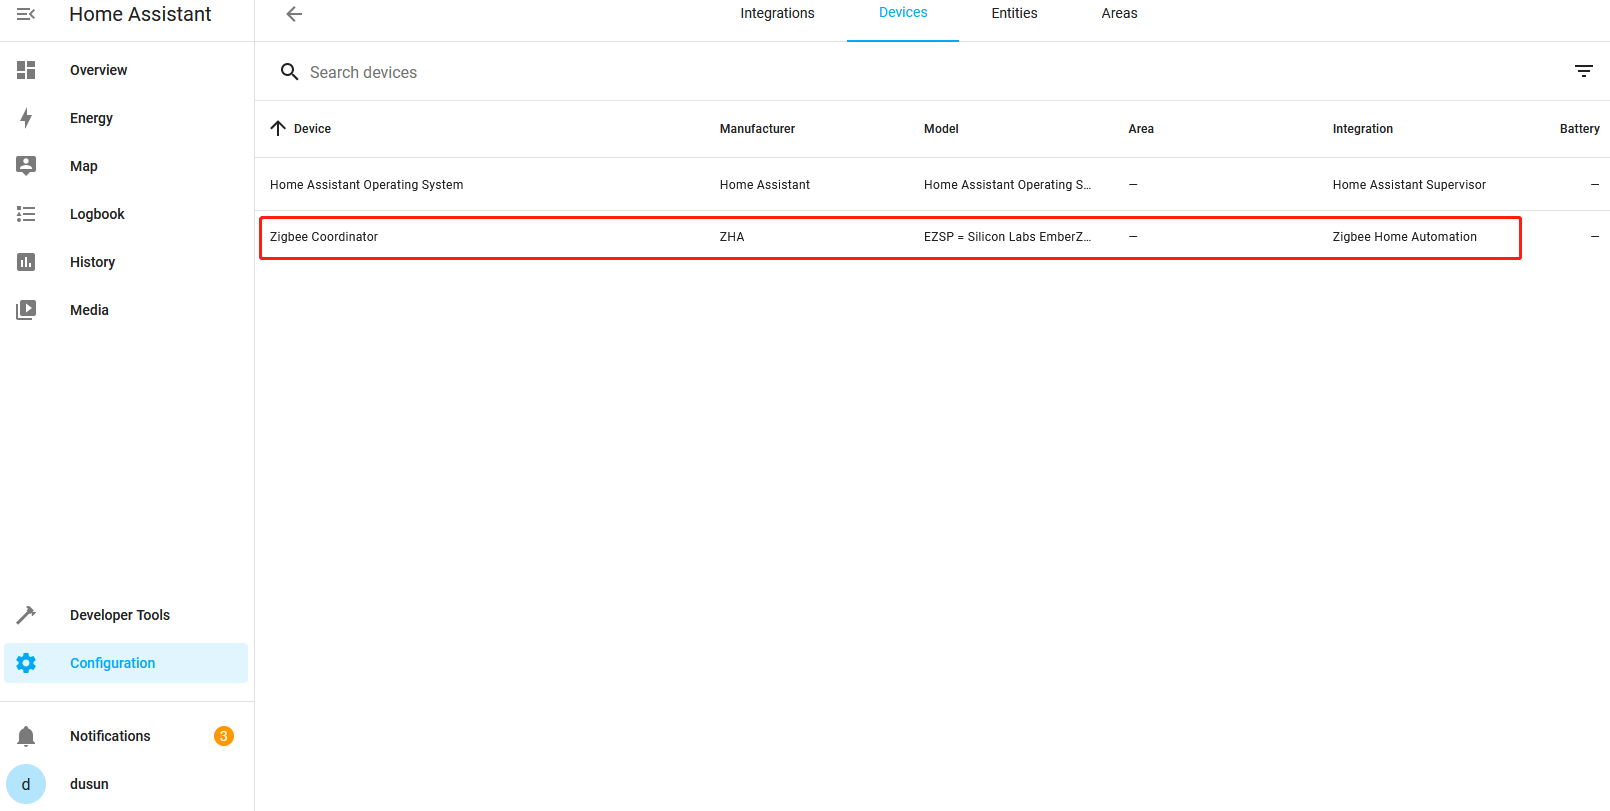
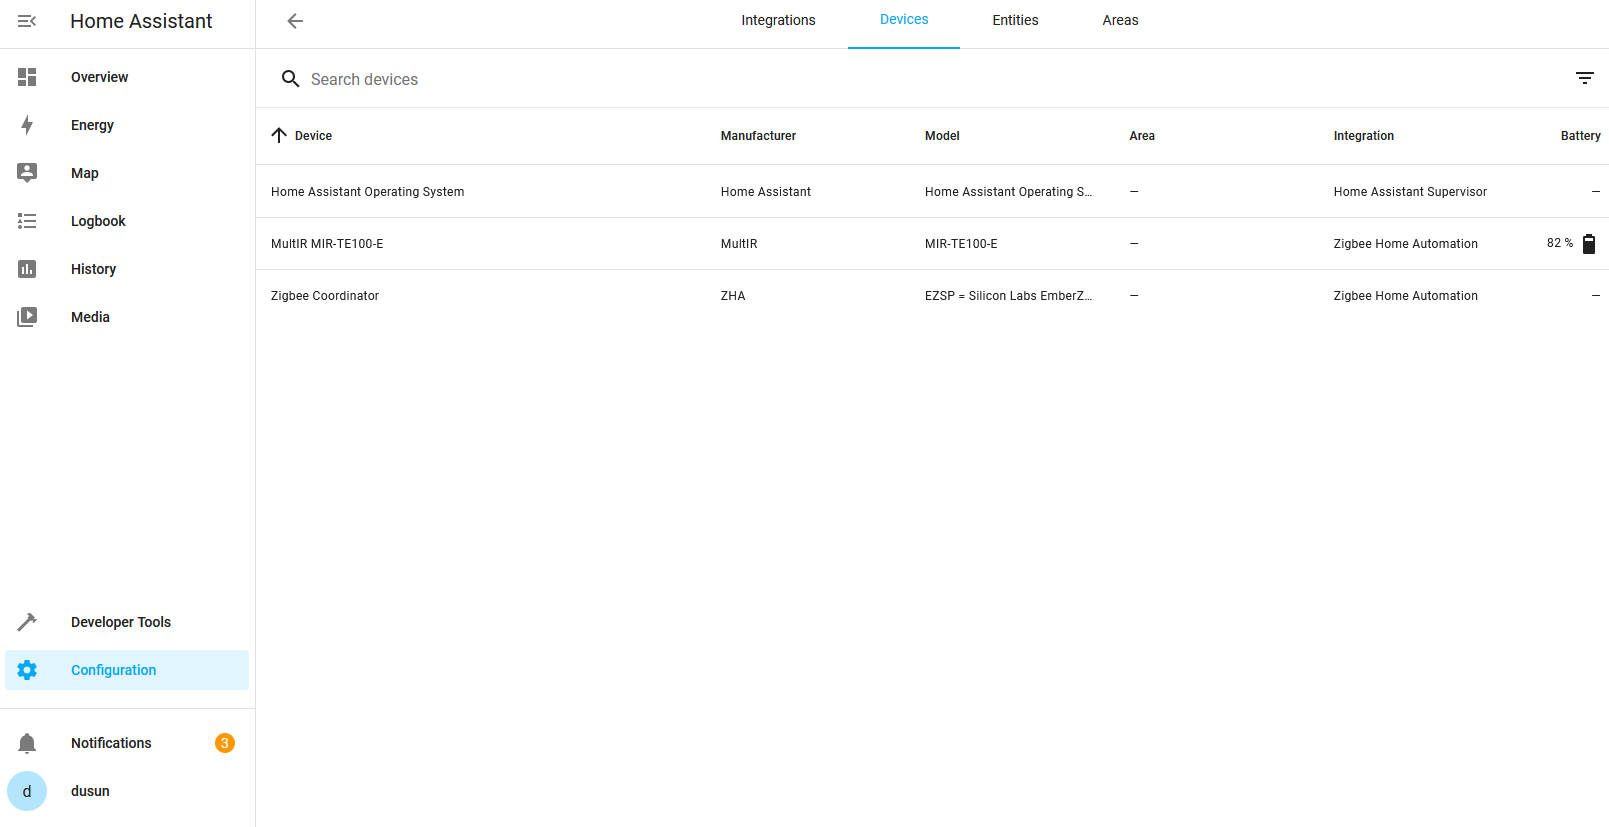
j) Then switch back to the Devices section, we can see the temperature and humidity sensor is successfully added
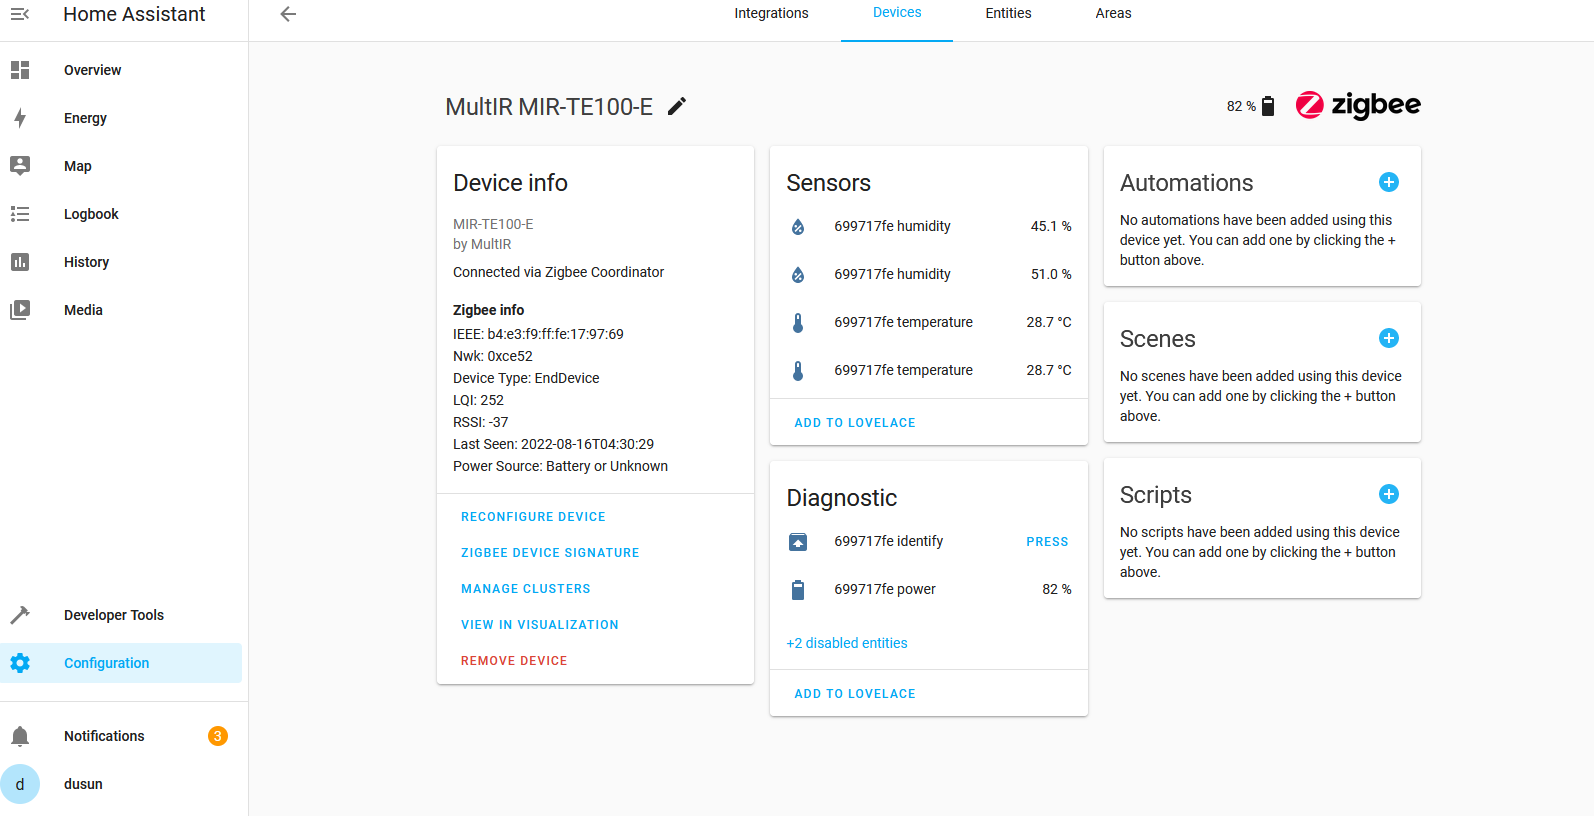
k) The detailed inform for sensors can be checked as well
3.8 Add Z-Wave JS for zwave management
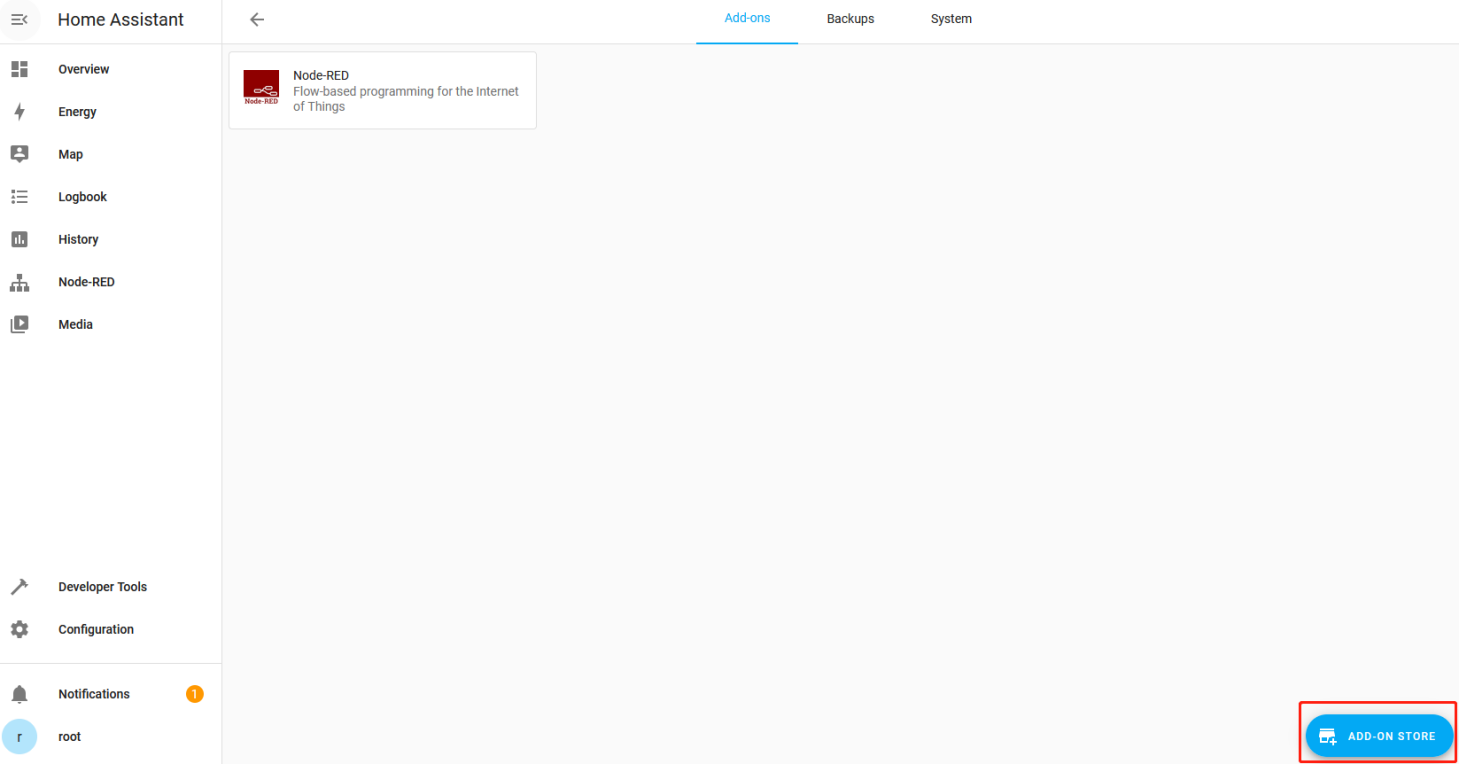
a) Select Addon in HA
b) Choose ADD ON STORE
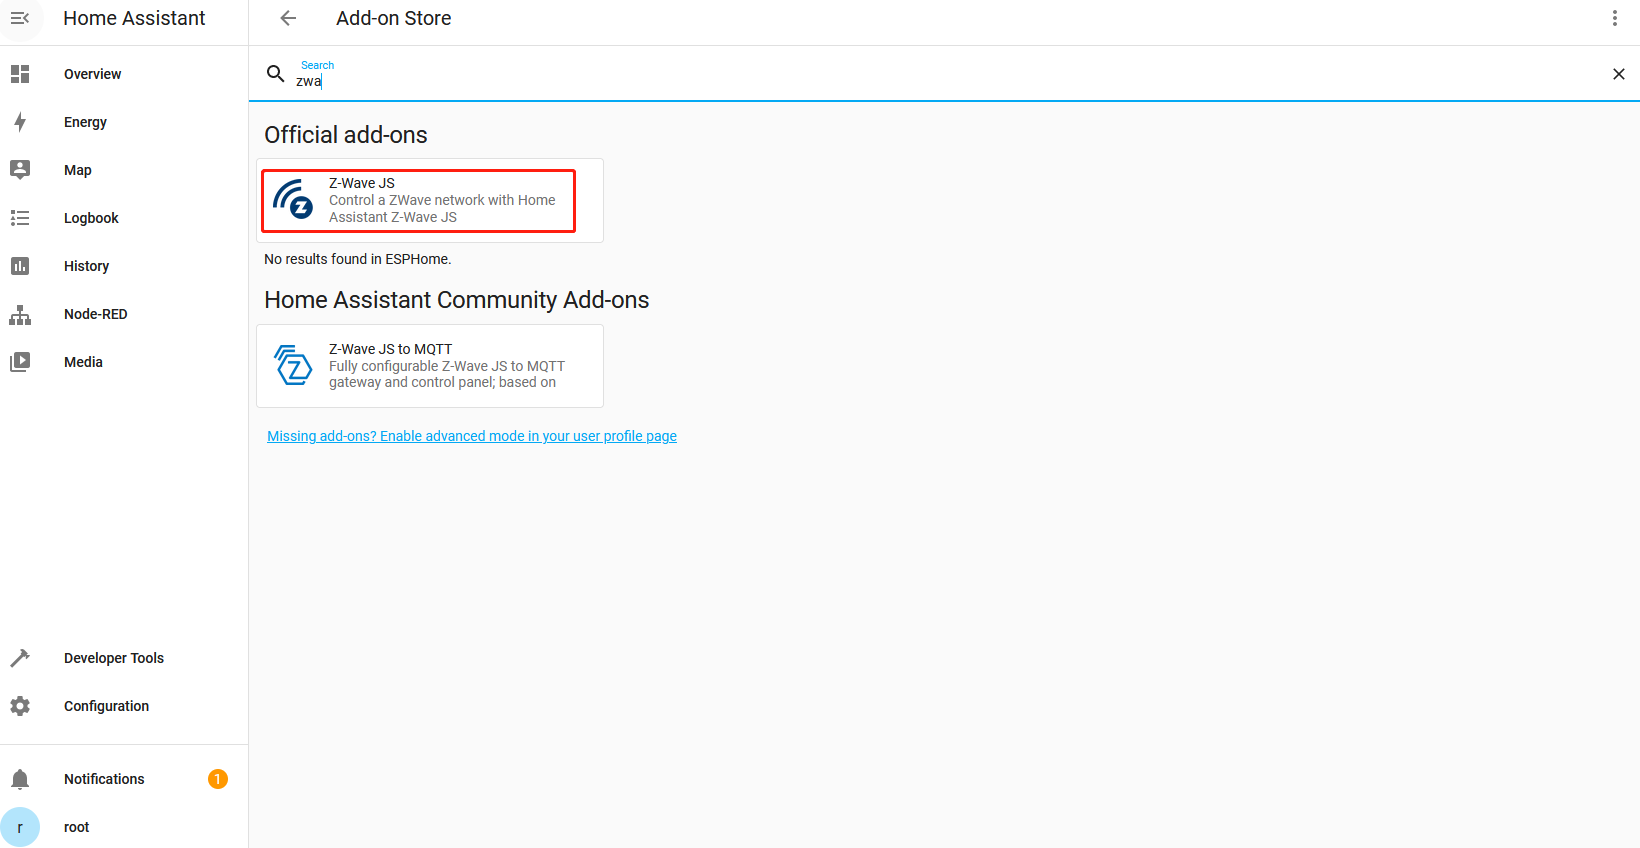
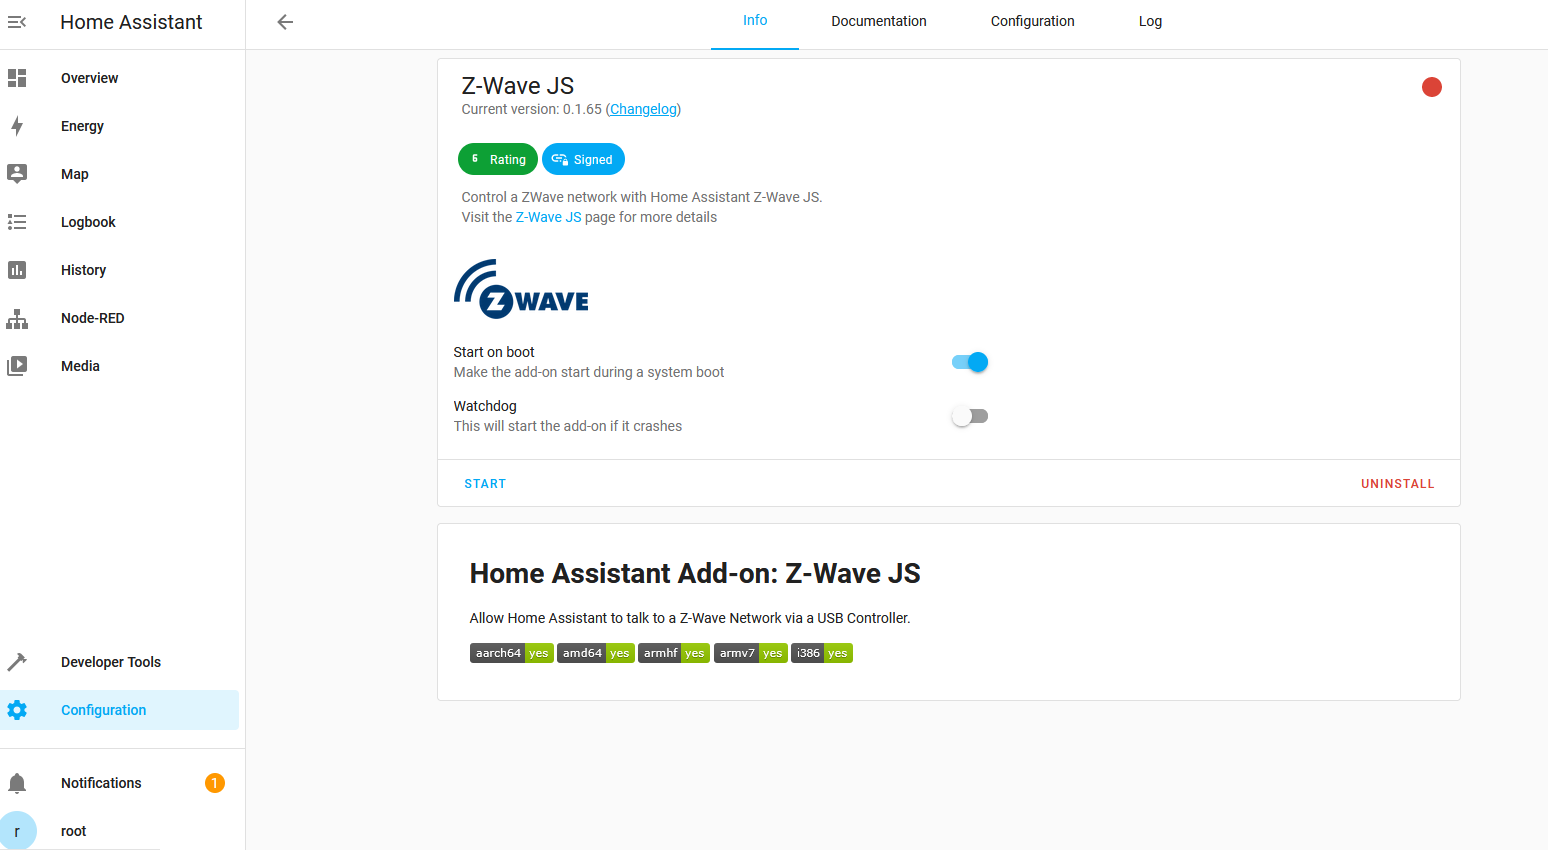
c) Select and click Z-Wave JS
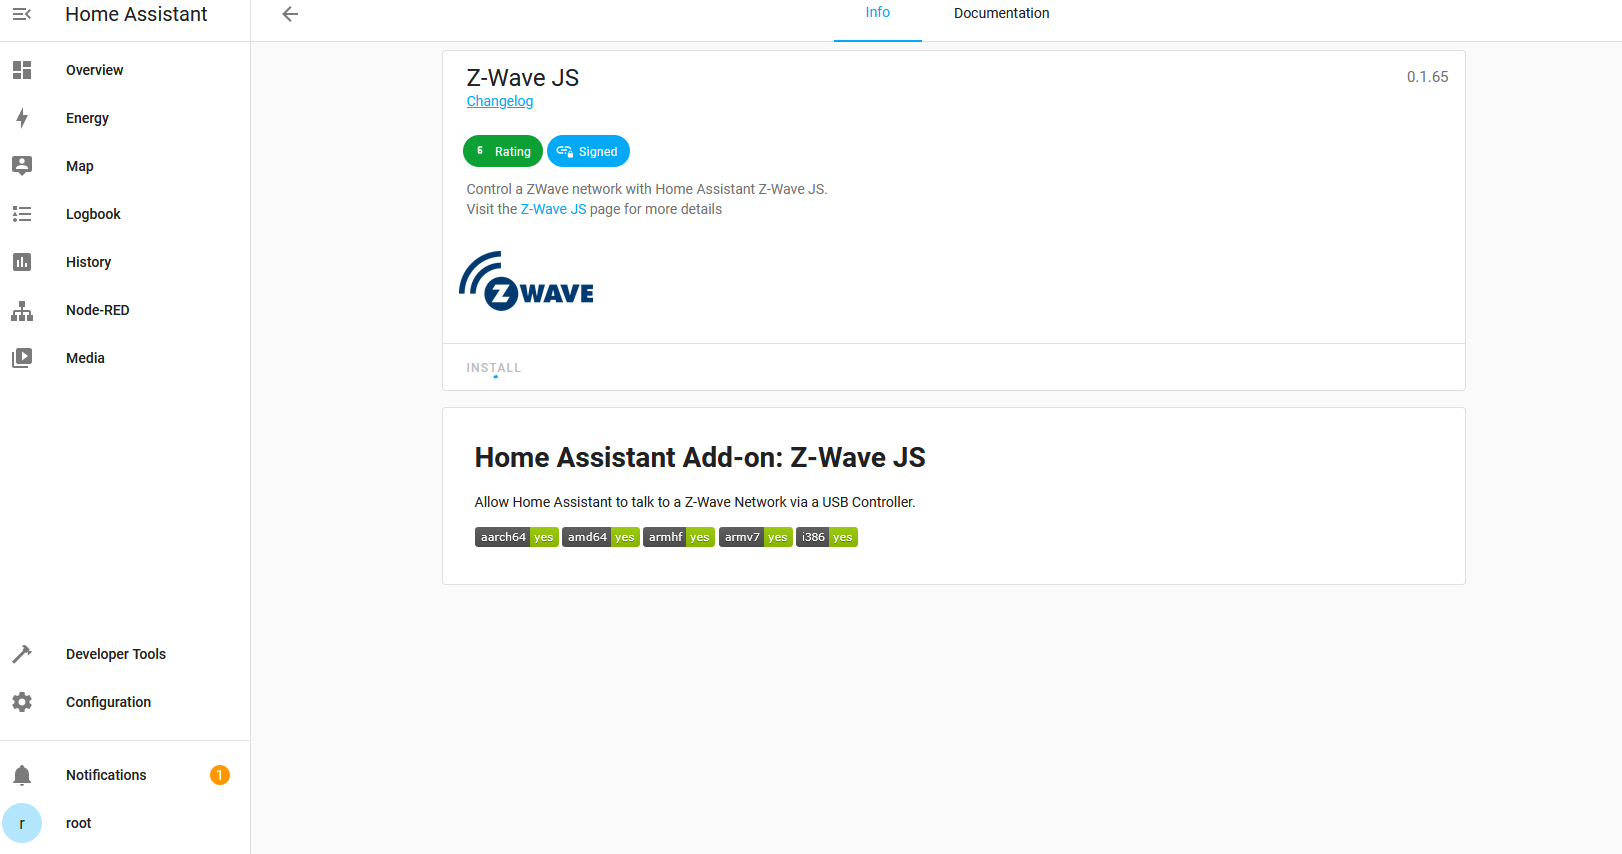
d) Click install
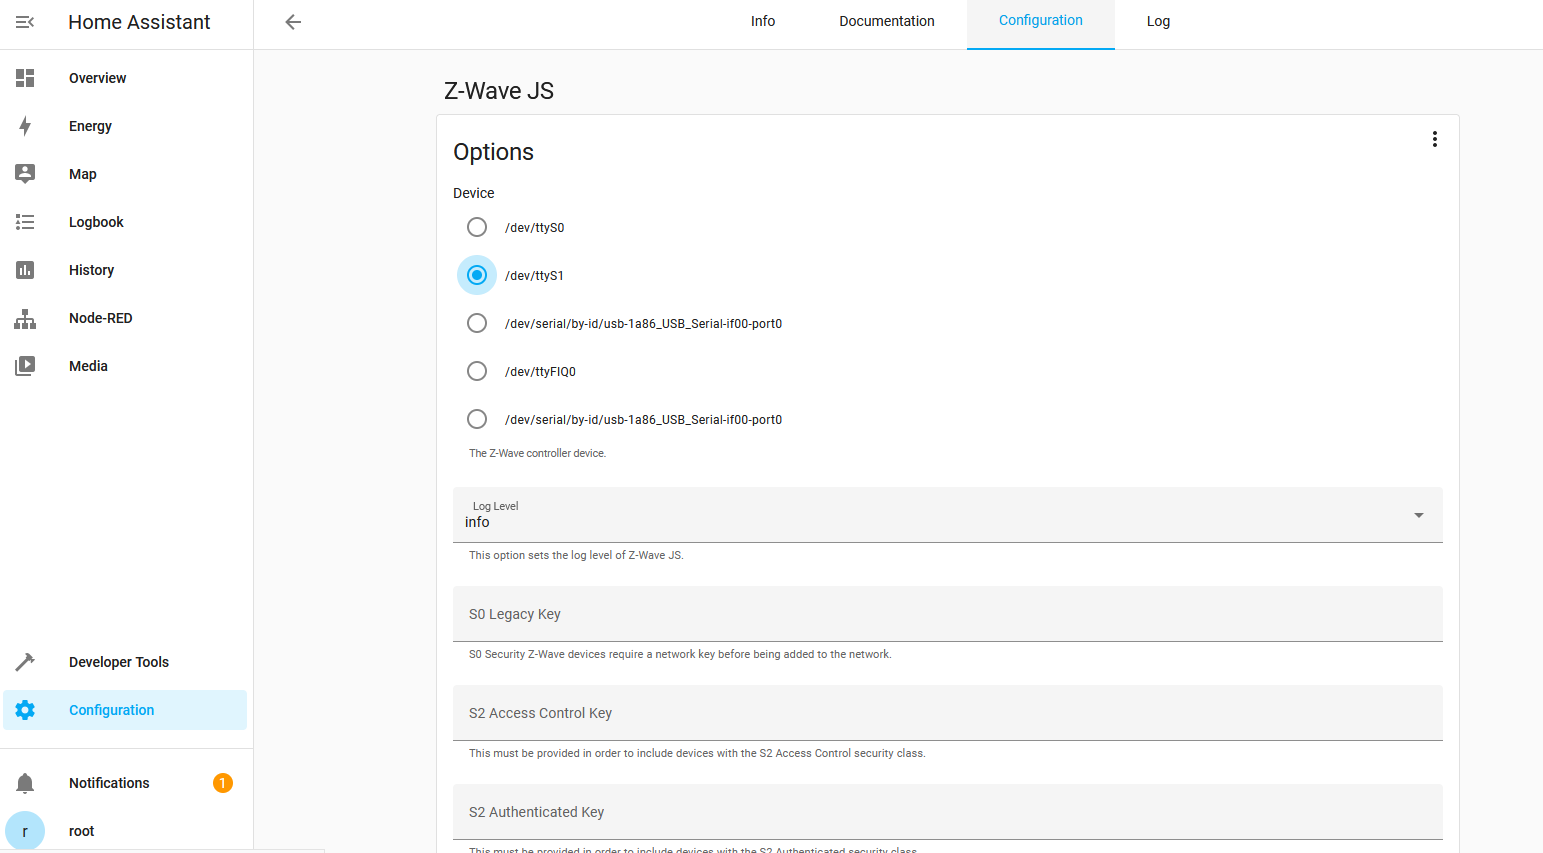
e) Switch to Configuration tab
f) Choose the /dev/ttyS1 for Z-Wave serial port
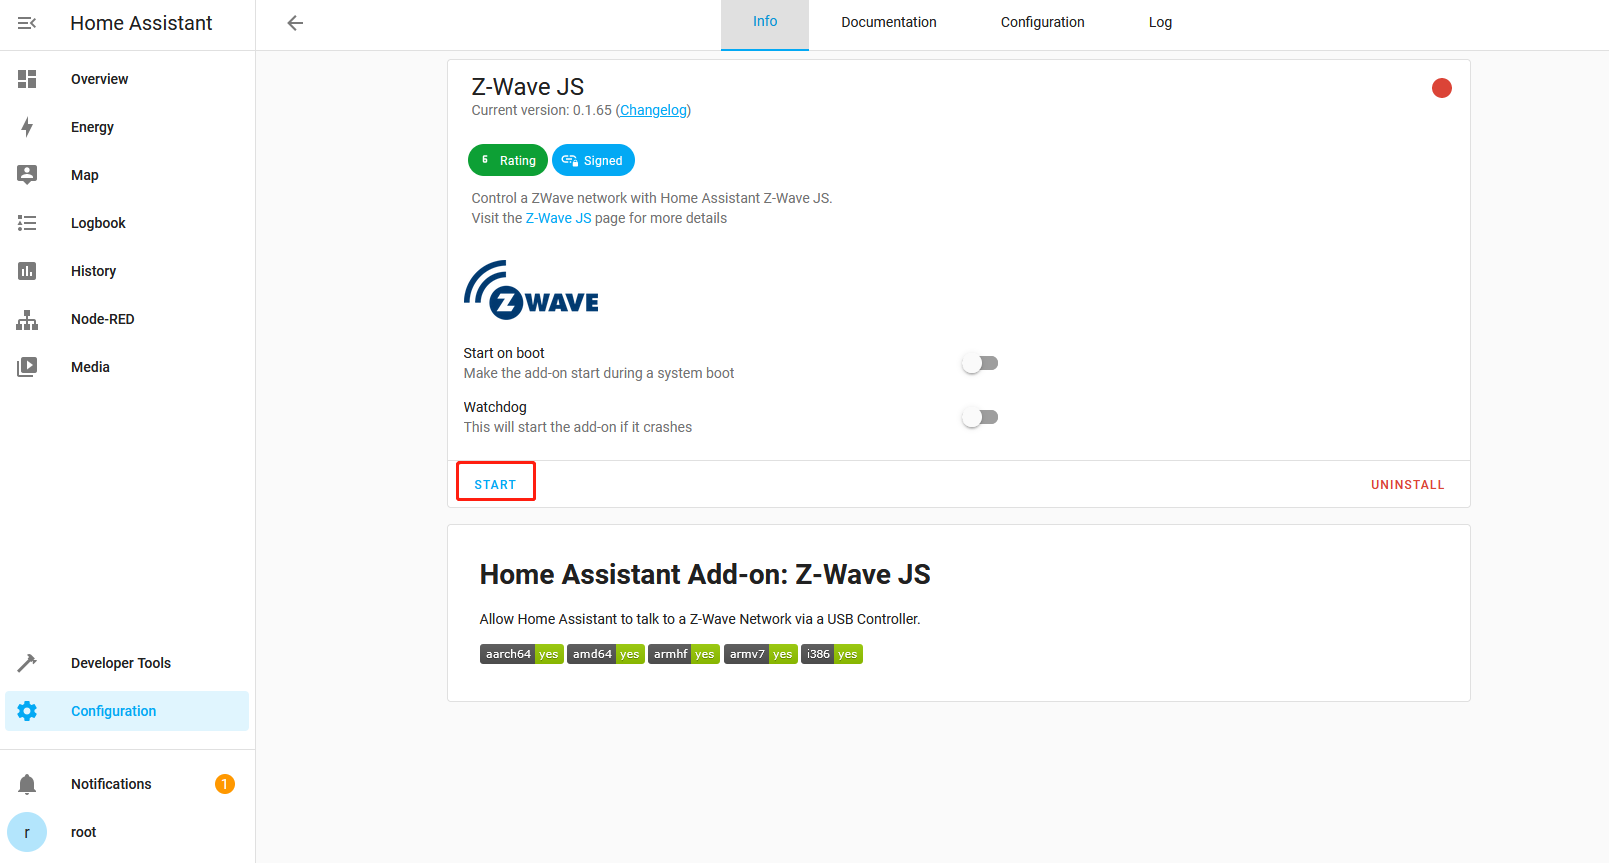
g) Click START for Z-Wave JS addon, and wait for about 10 minutes for it to fully operation for the first time deployment
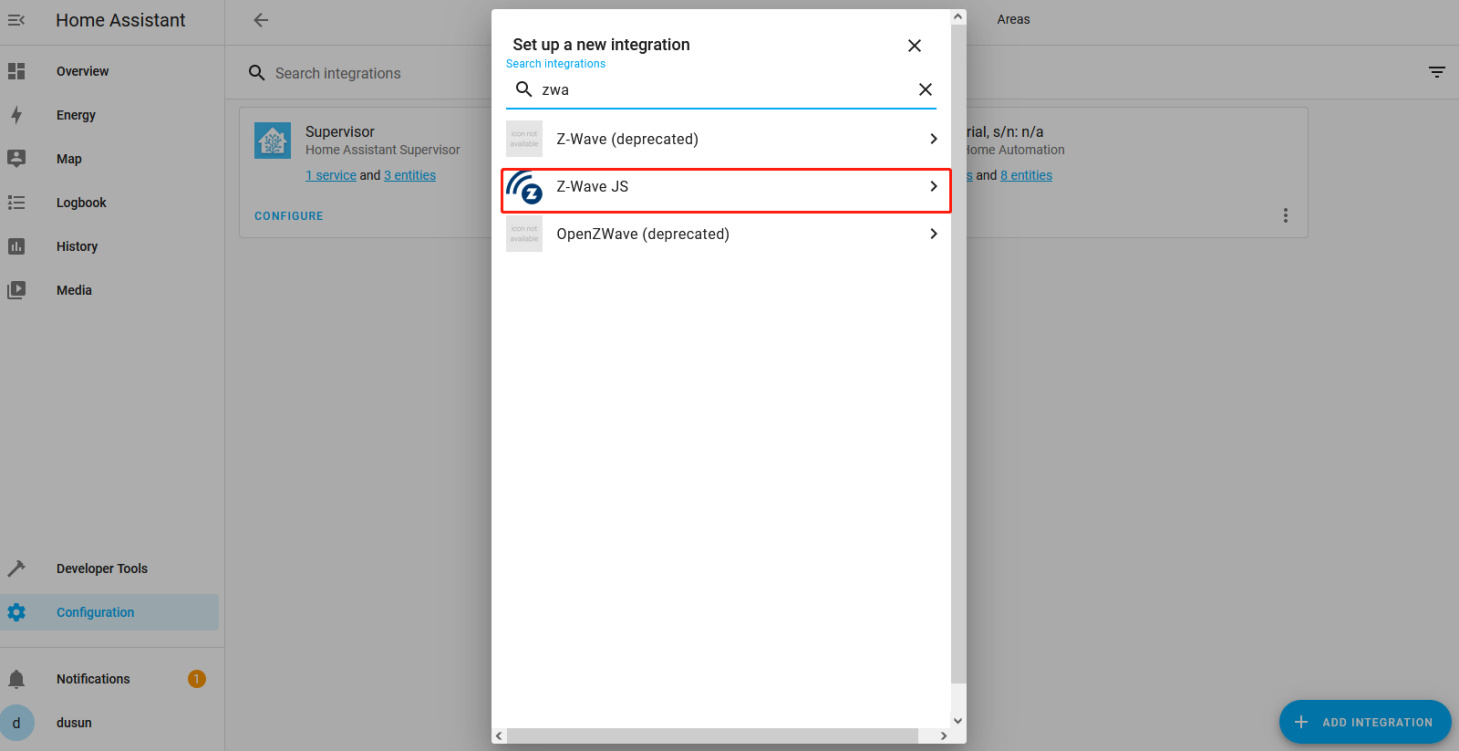
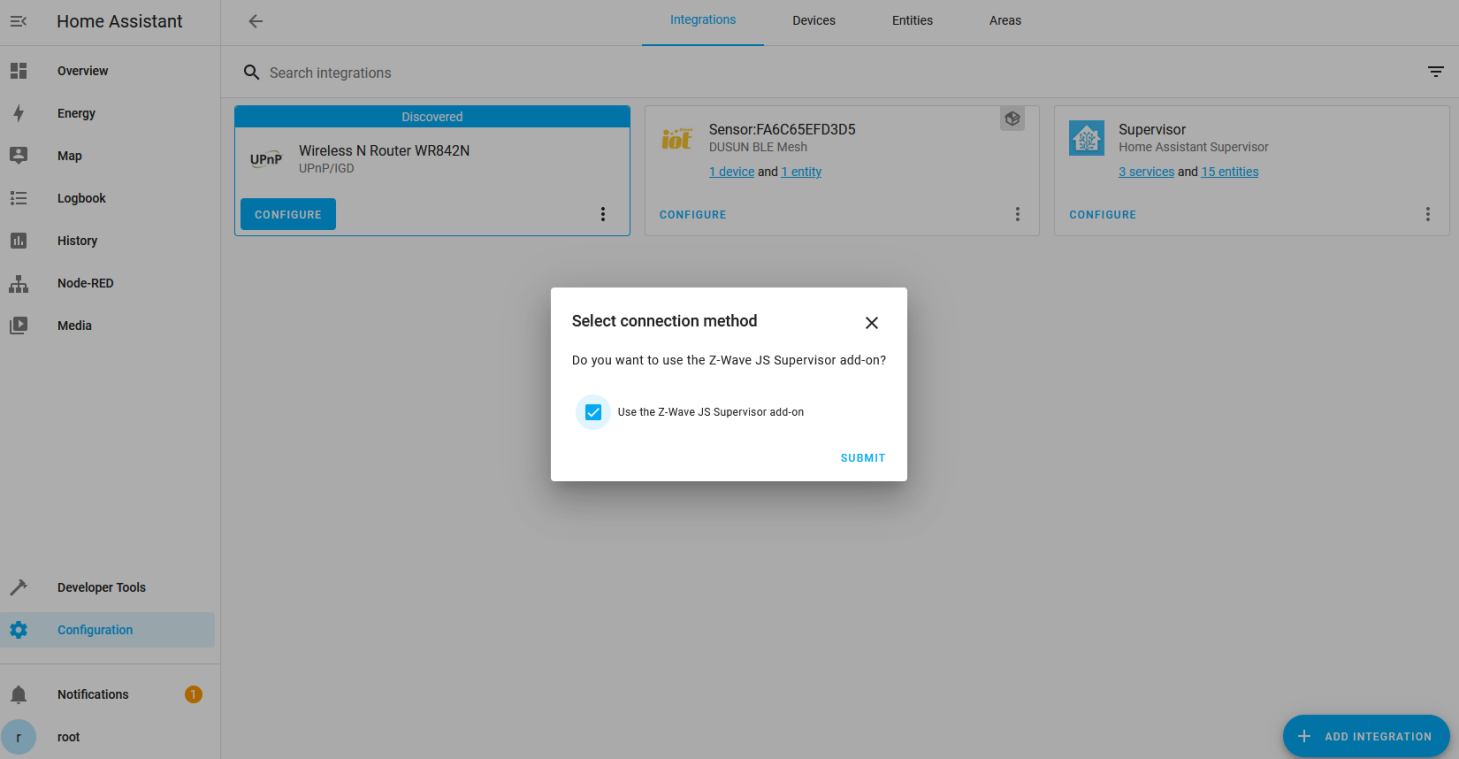
h) Switch back to Integration section, add the Z-Wave-JS integration
i) Choose the add-on we just added for this integration
j) Then the integration is correctly added,
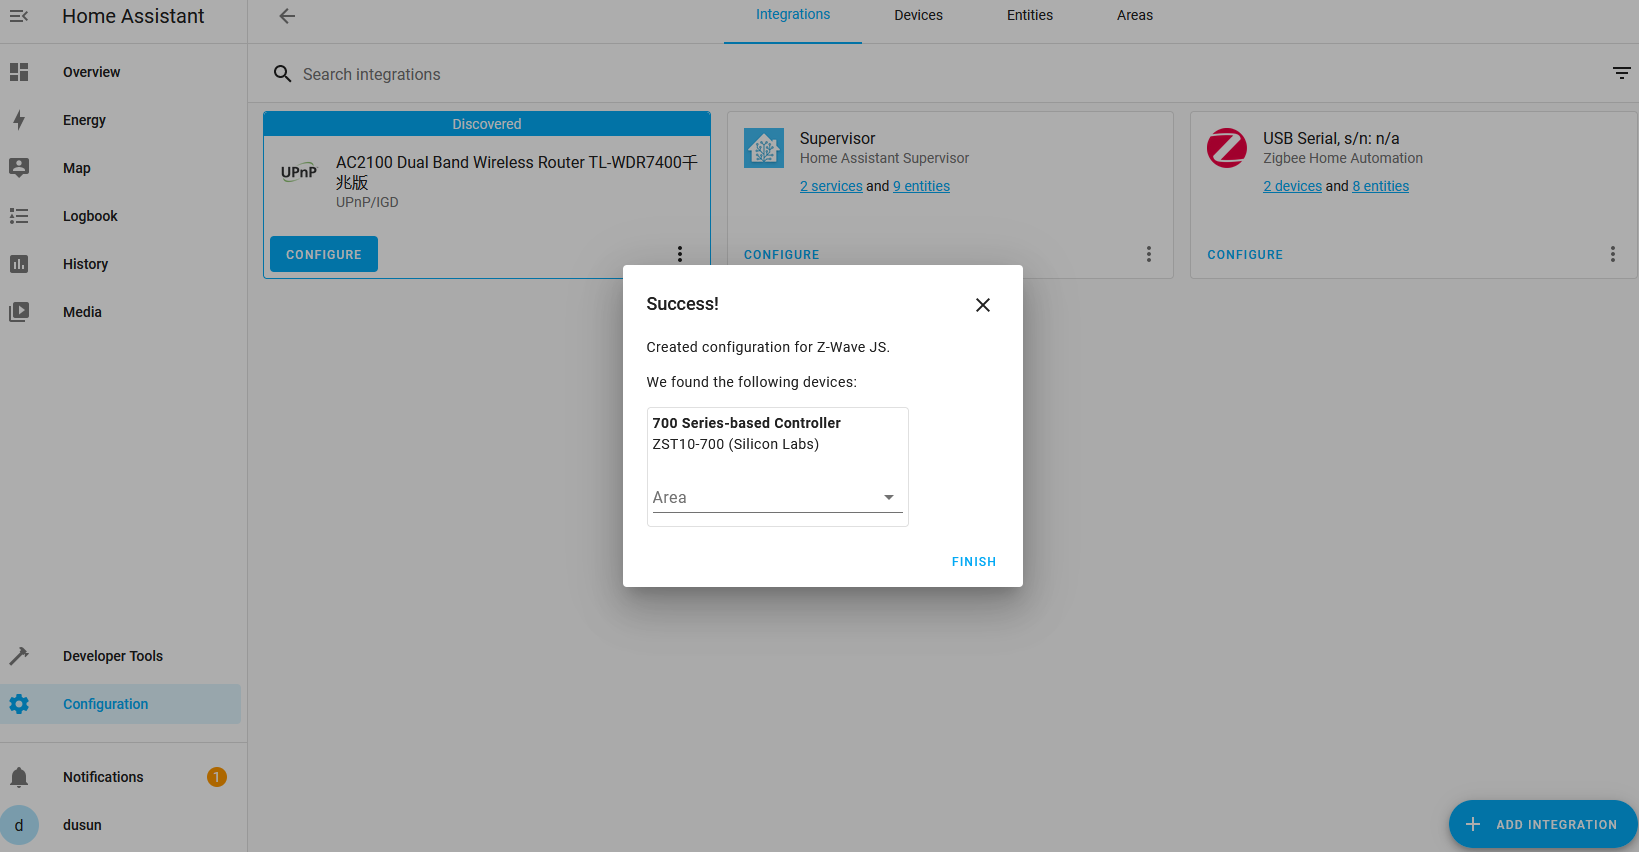
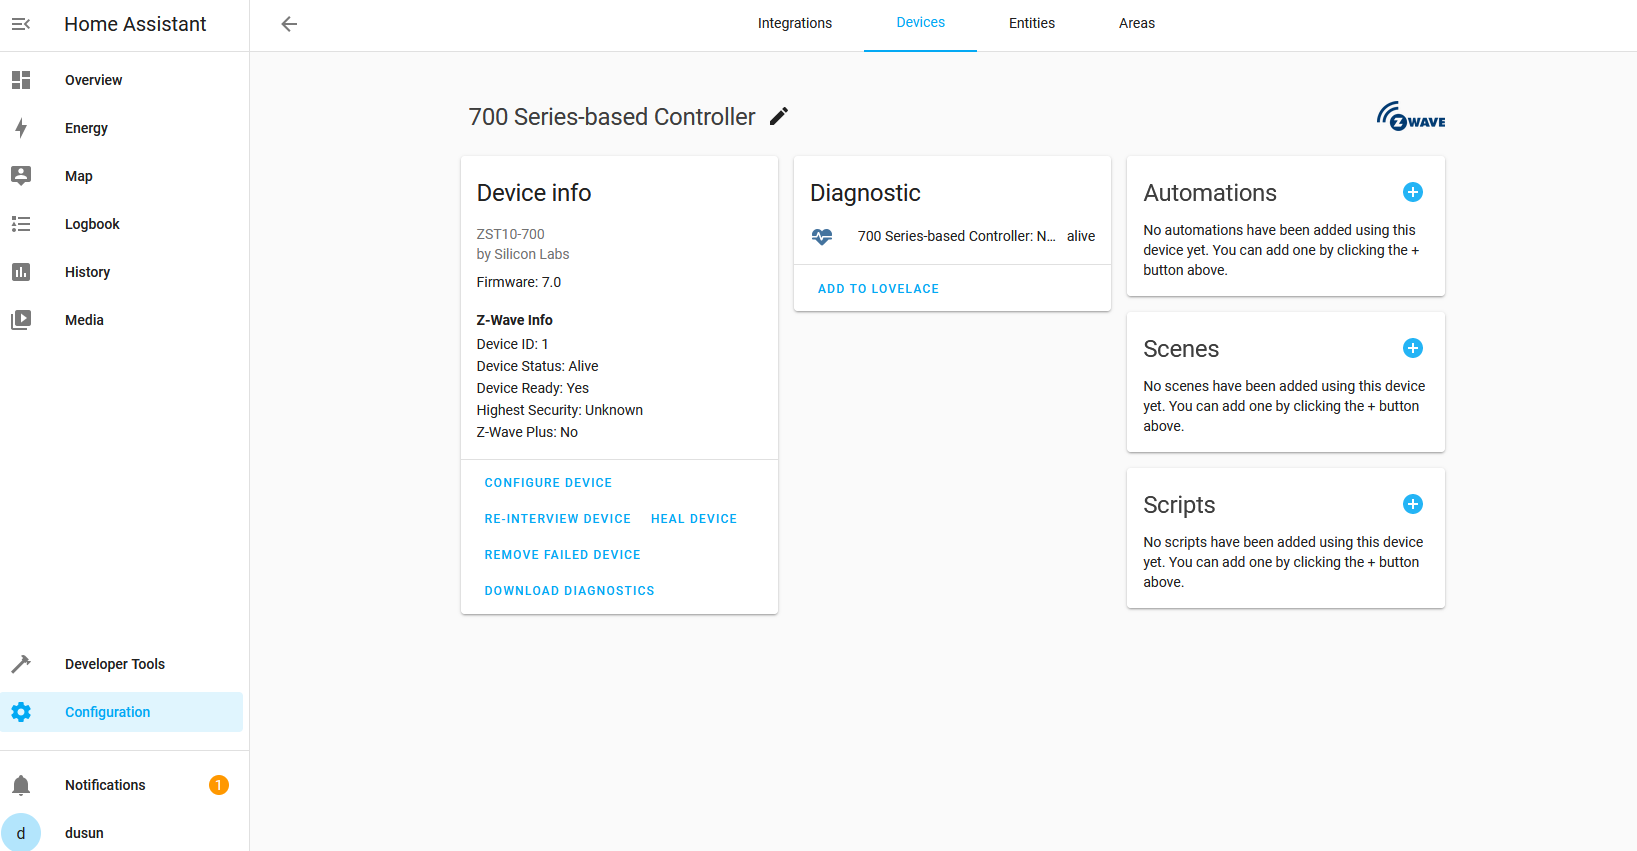
k) You could connect or configure the device correspondingly
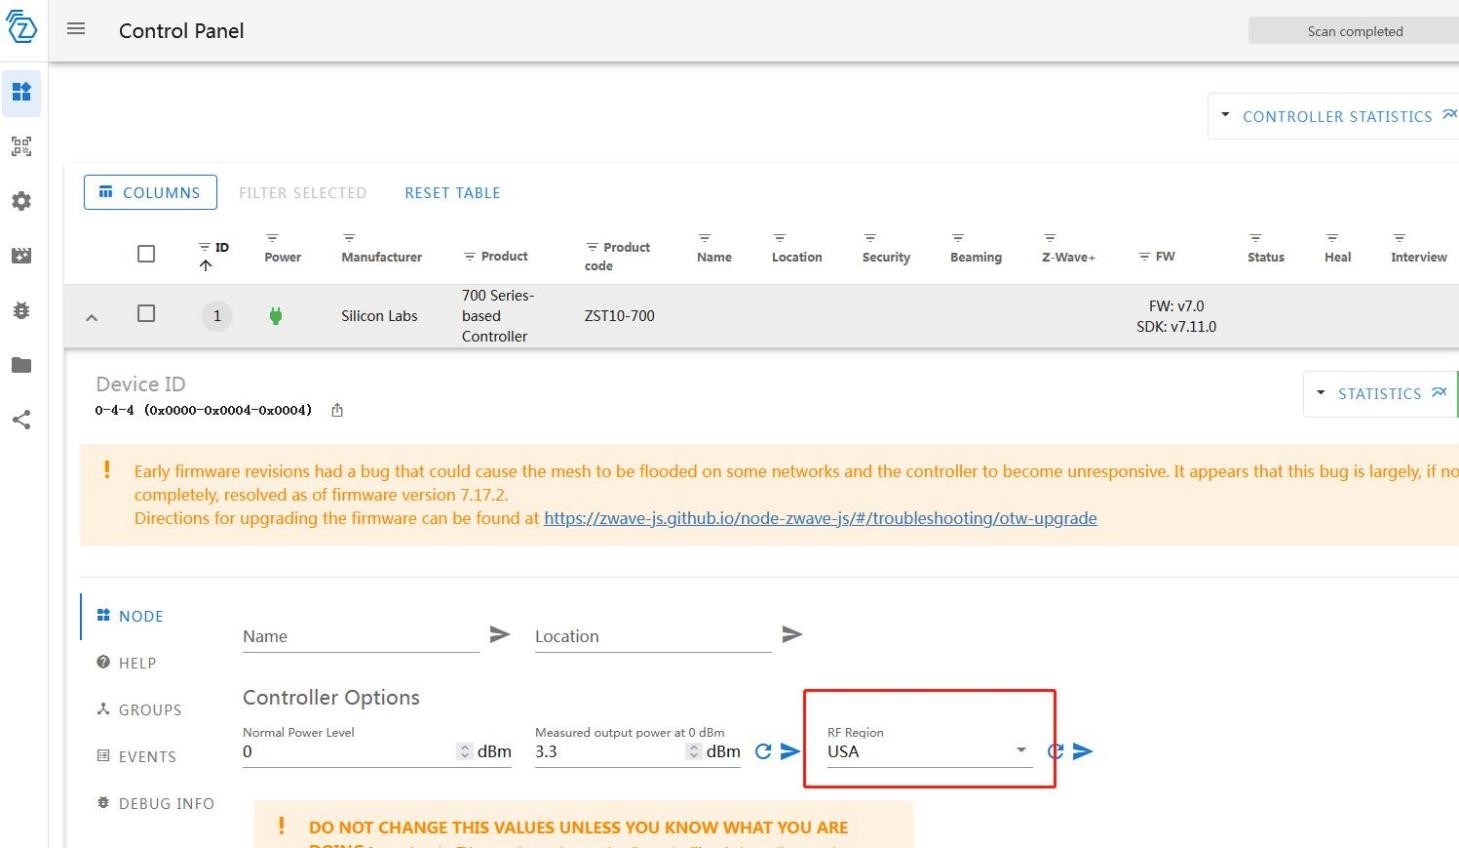
l) You could also configure the Z-Wave region in Z-Wave2mqtt addon
3.9 Move files inside and outside the Home Assistant docker
User could log in the gateway using ssh and with ‘docker cp’ command to copy the file inside the HA docker,
docker cp /xxx/xxx homeassistant:/usr/
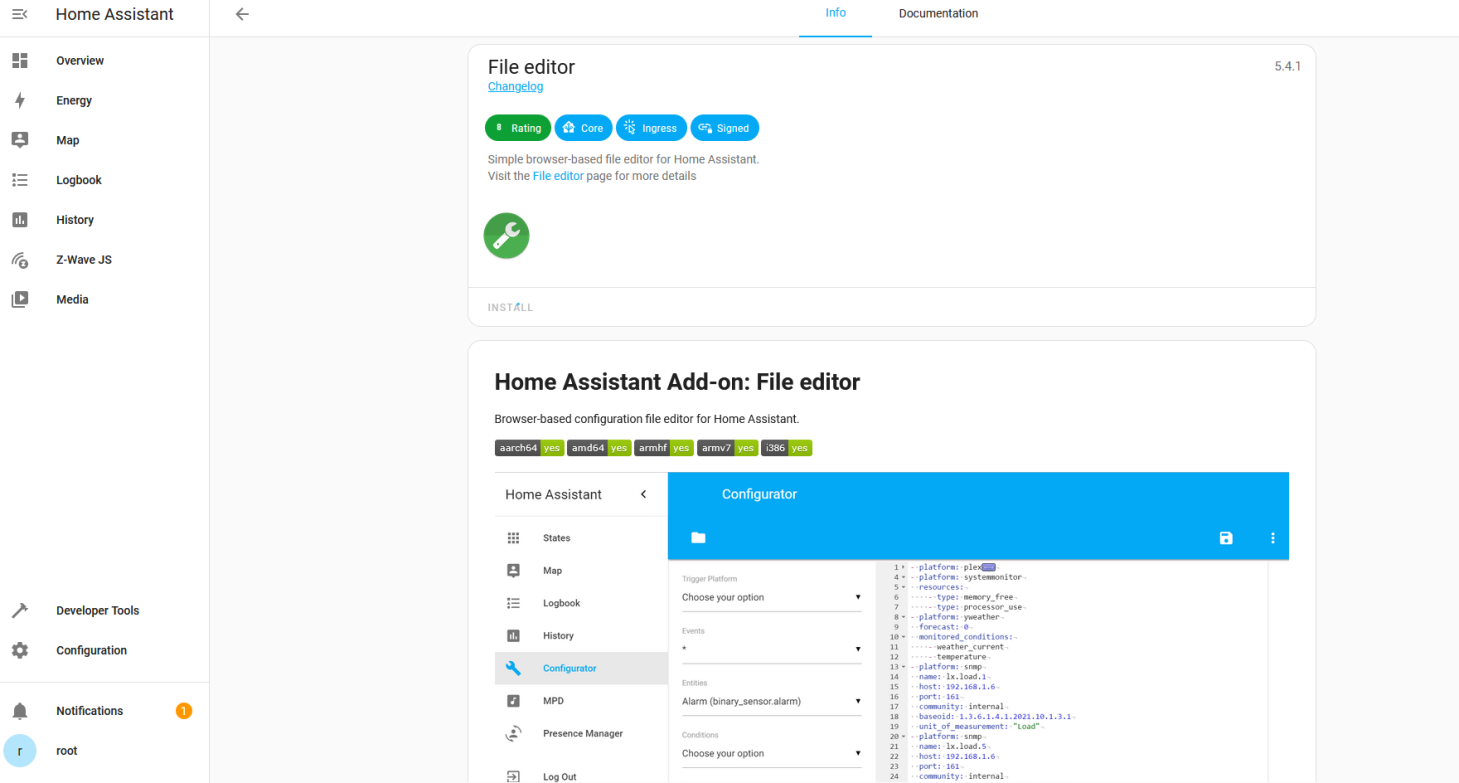
In addition to command interface, user could also use the file editor addon to achieve file edition purpose
3.10 Reset function
User can long press the reset button for 10s to reset the gateway to factory setting
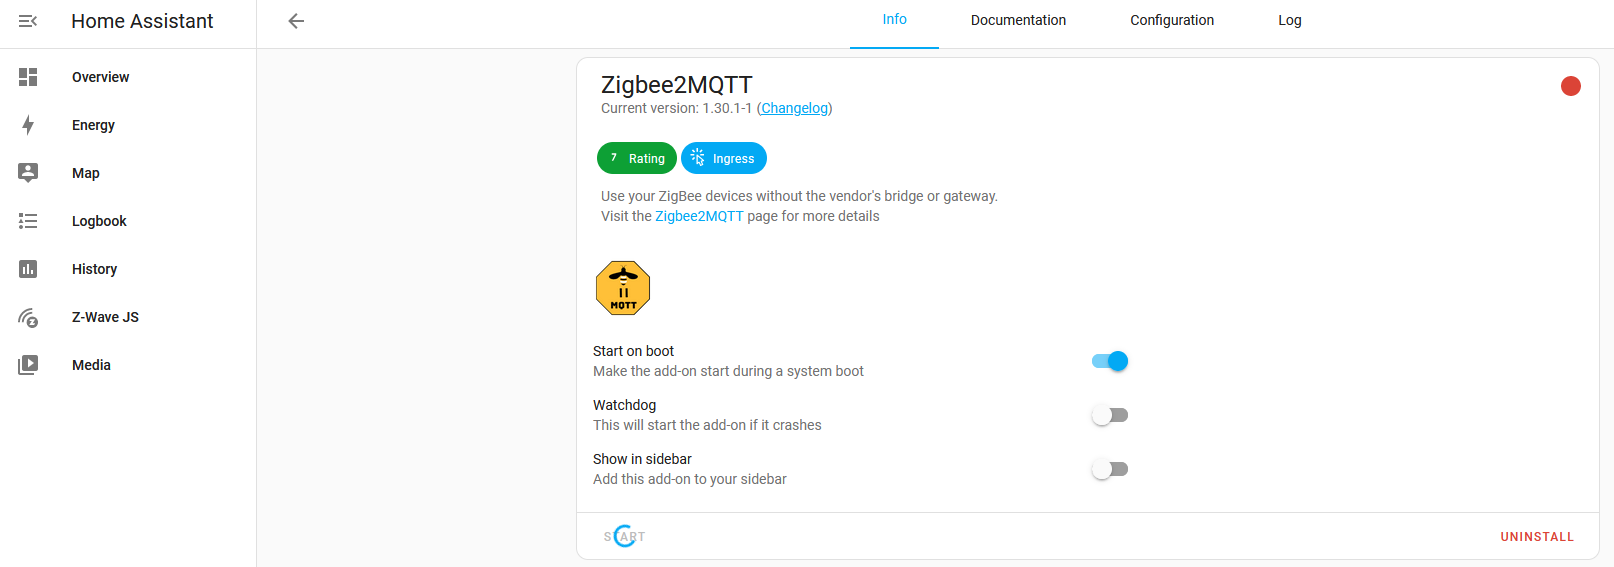
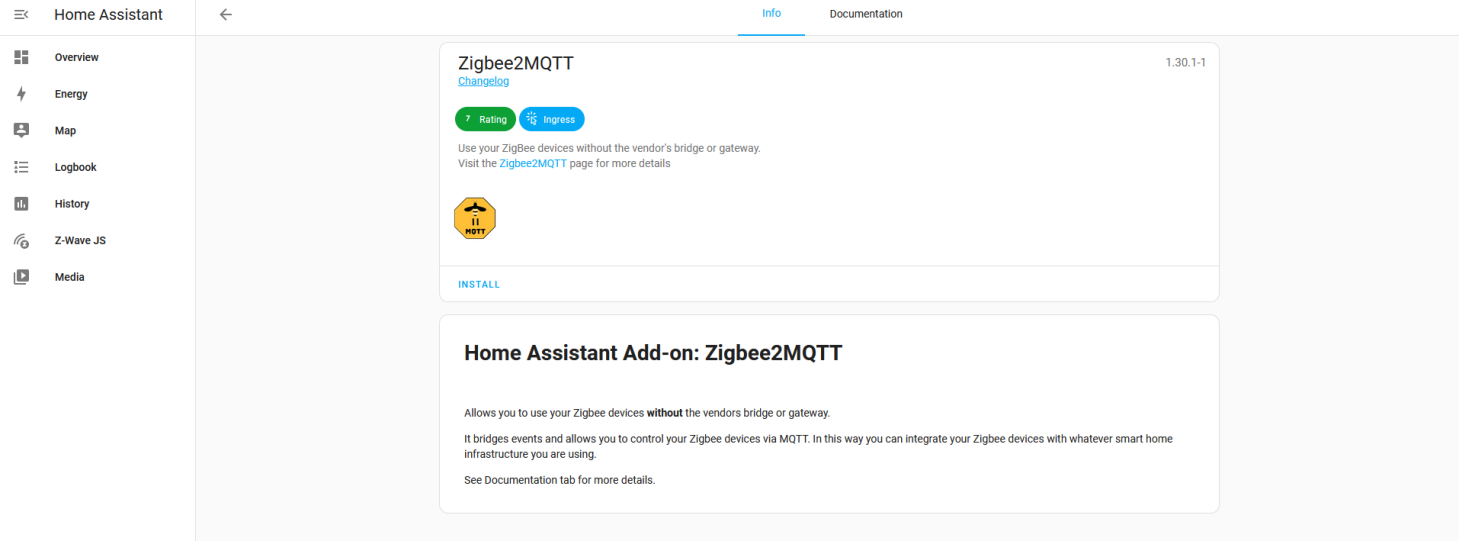
3.11 Install Zigbee2MQTT
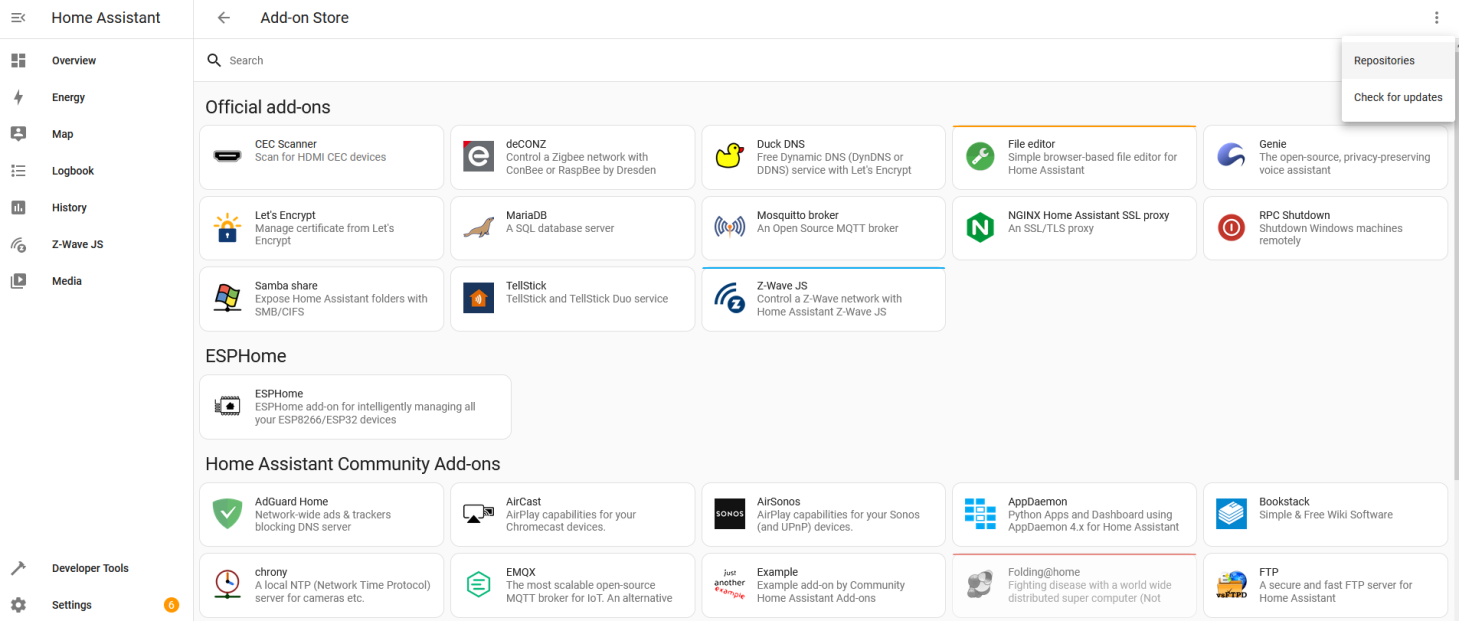
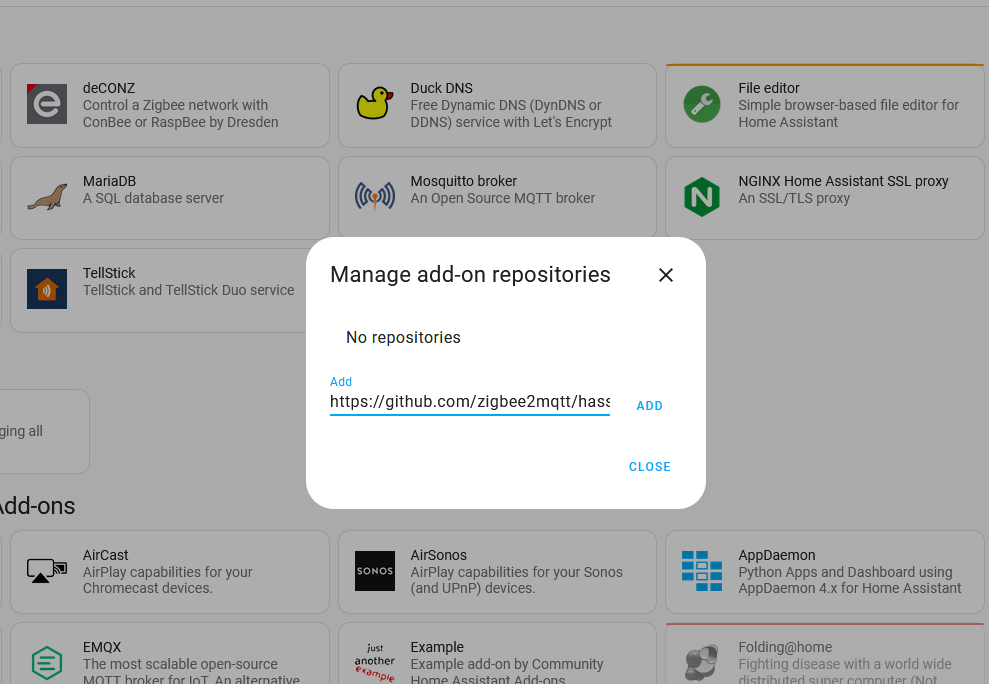
Switch to Add on store and choose repository
Fill in the link https://github.com/zigbee2mqtt/hassio-zigbee2mqtt#installation get from the guide https://github.com/zigbee2mqtt/hassio-zigbee2mqtt#installation
Now the zigbee2mqtt add on can be found in the addon store
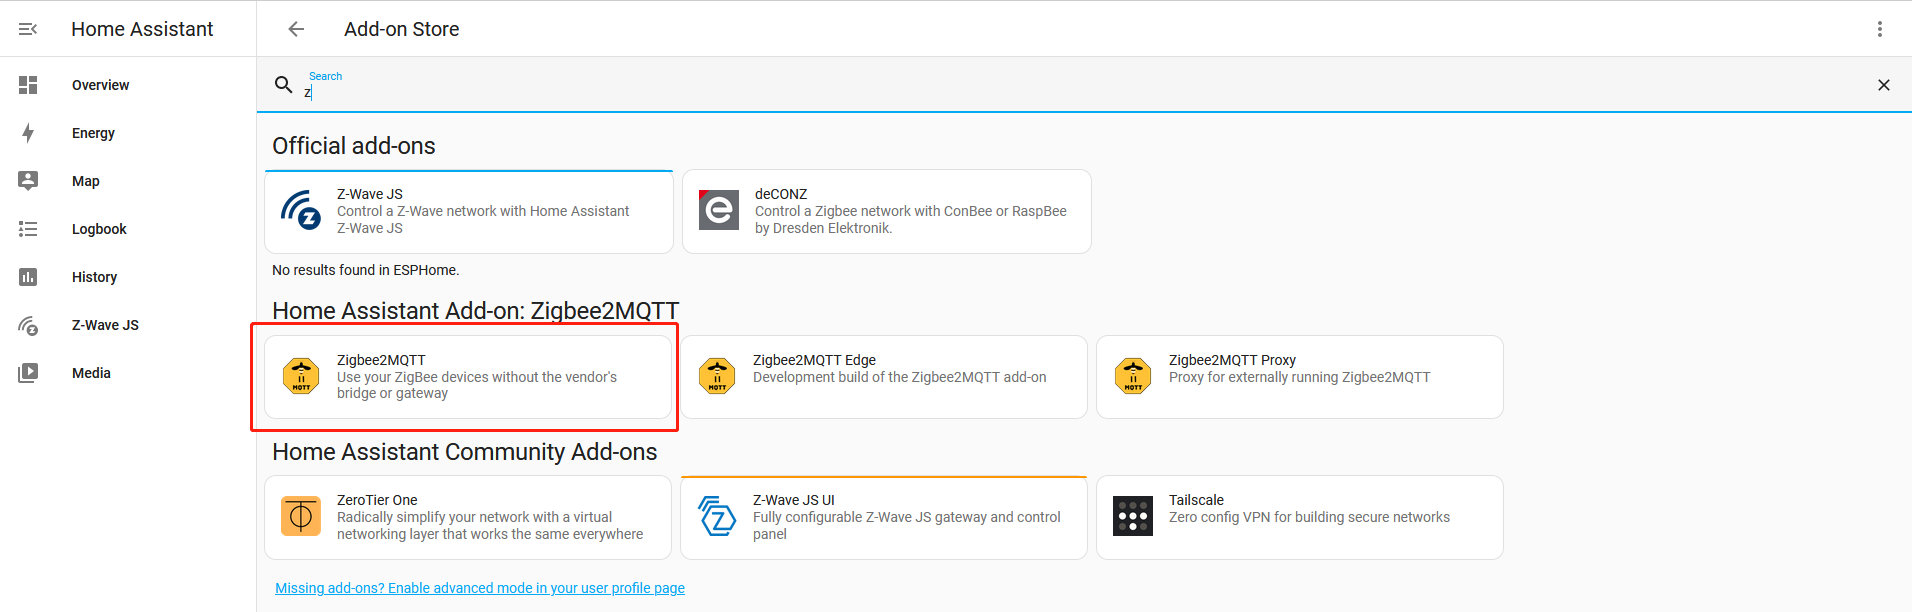
Choose and install the add on
Switch to configuration page, fill in the port and adapter configuration
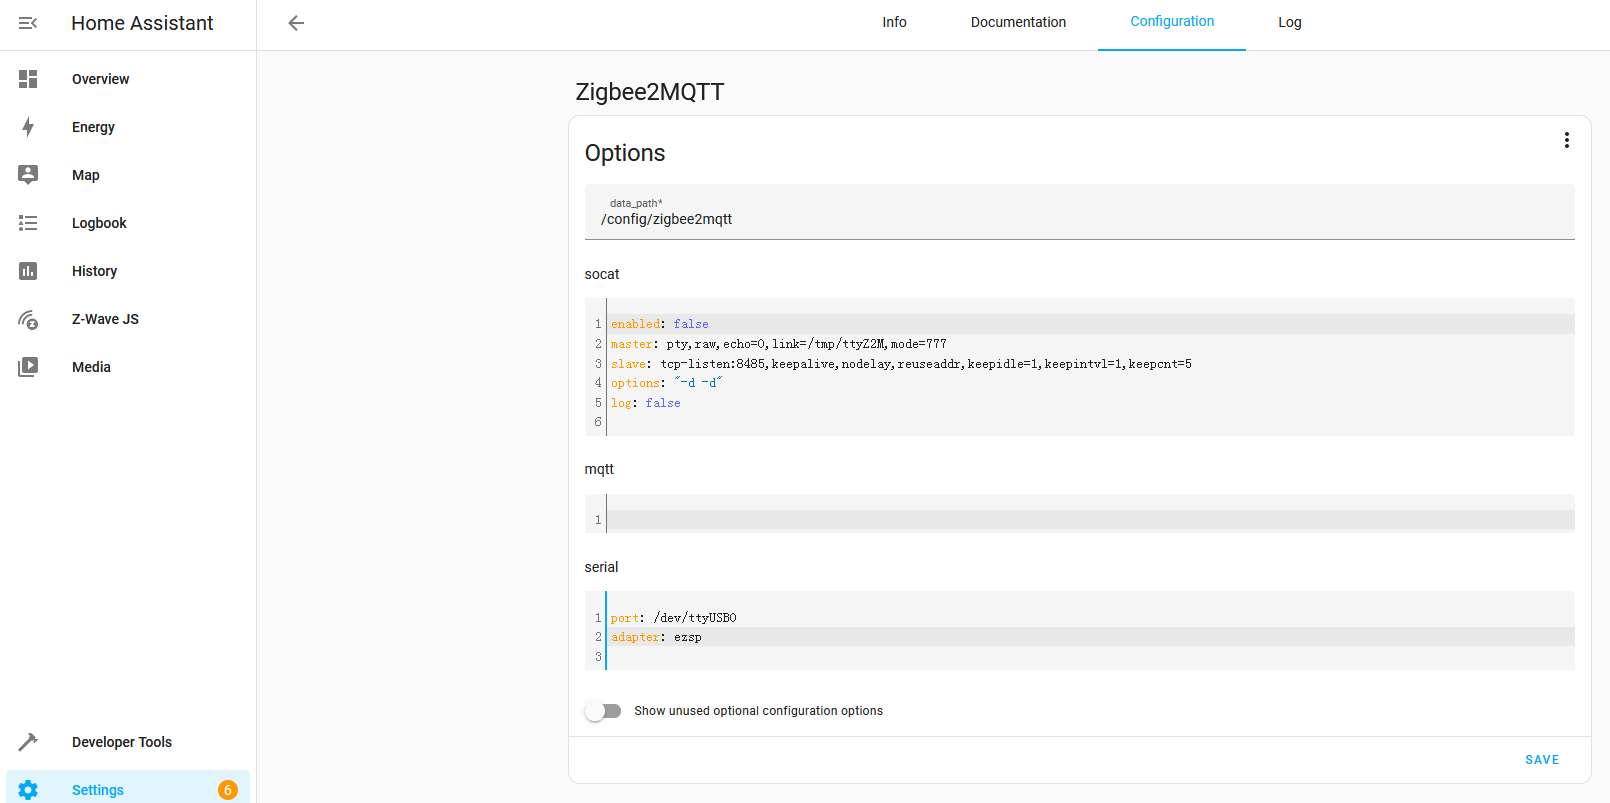
Click start to start the addon